
Ideas for Painting your Bathroom Oasis
October 14, 2022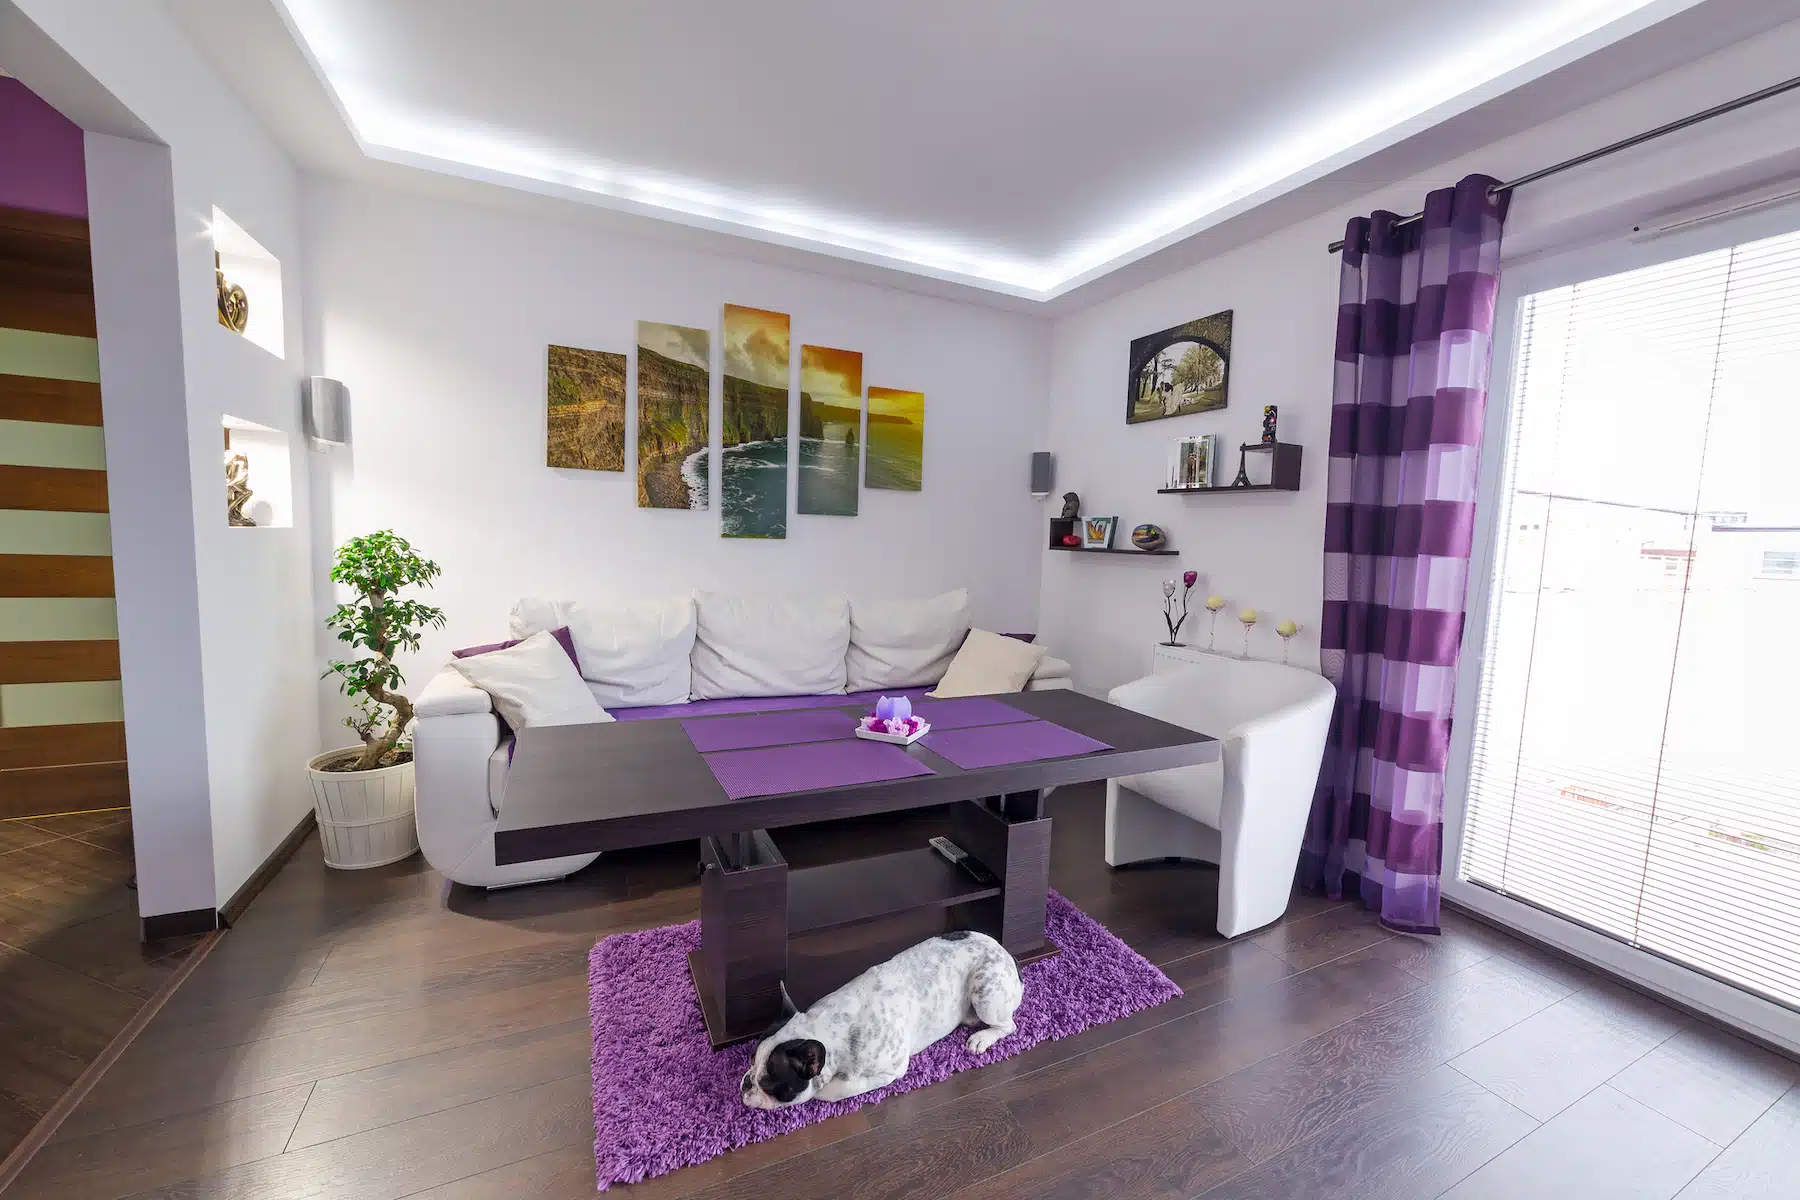
Pet-Friendly House Painting
November 17, 2022
Transforming Walls into Dry Erase Boards
Dry erase boards are not just for school. They are a great way to add interesting detail to your home, and they’re practical, as well. You can easily note grocery lists, reminders, and ideas, plus entertain the kids without permanently damaging your walls.
While getting a dry erase board is a fun way to get this effect in your house, you can also transform one of your walls into a dry erase board with special paint. Here is advice on how to do so.
Prep Your Wall
As with any painting project, the first thing you have to do is prepare the wall and the room where you are painting. Clean the wall of any debris or dust that might stop the paint from adhering correctly.
Then, make sure that the areas around your wall are prepared for painting. Put down drop cloths to protect your floor and furniture, securing them with masking tape. You don’t want the paint to get anywhere it shouldn’t.
If you’re only painting a section of your wall, frame that area with painter’s tape. Use painter’s tape anyway to protect floorboards and other edges.
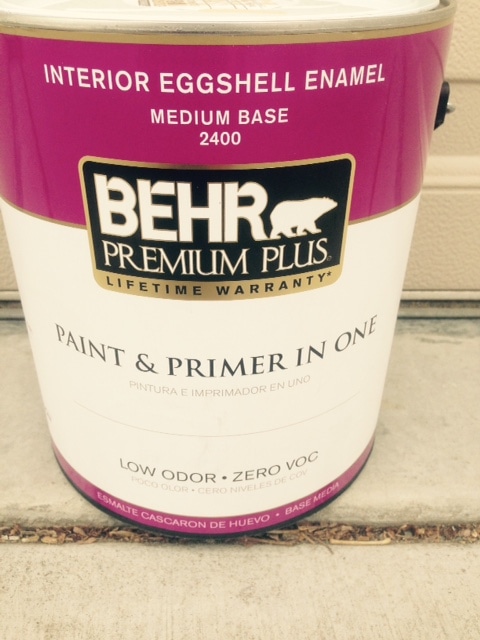
Make Sure You Have the Right Supplies
You can turn any wall into a dry erase board with the right paint. Special whiteboard paint turns any surface into one that can work as a base for erasable markers. Just make sure the paint you are getting is dry erase paint. Reputable brands include ReMARKable, Benjamin Moore, and IdeaPaint.
Besides the whiteboard paint, you will need primer, paint rollers, paint trays, and brushes.
Prime the Walls
Once your supplies are assembled and your surface is ready for painting, you still can’t put the whiteboard paint on yet. Instead, you need to add a level of primer or basecoat. This protects the paint from any irregularities in the wall and allows it to stick properly.
Choose a primer or basecoat that is specifically for whiteboard paint (check manufacturer instructions as they often recommend the right primer to use with their paints) or an enamel primer. Make sure the primer dries completely before you start painting.
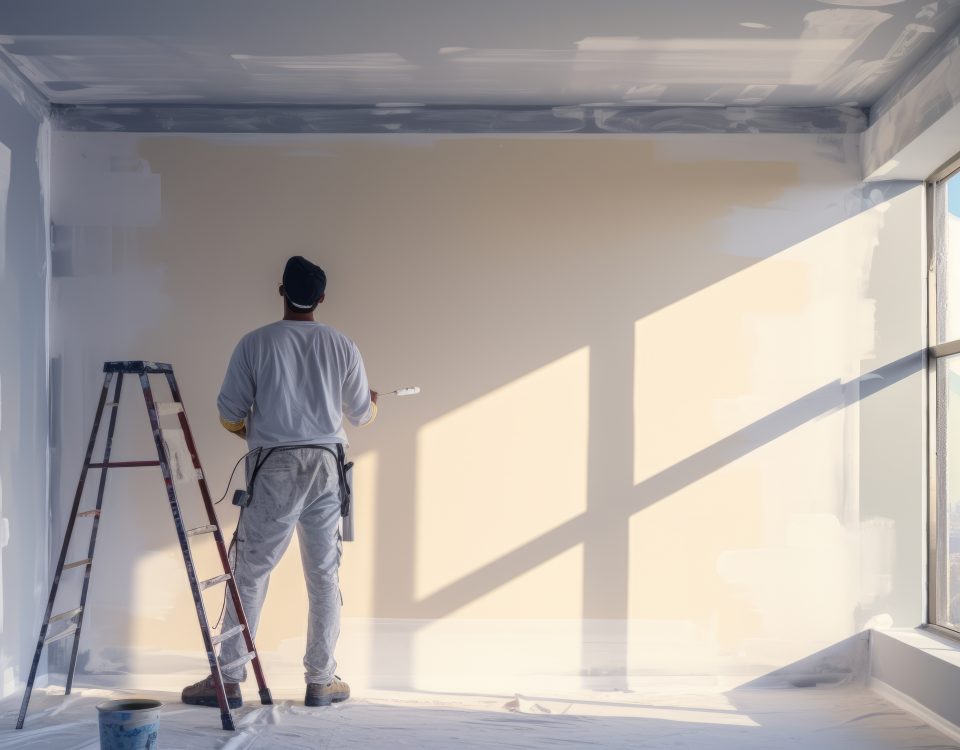
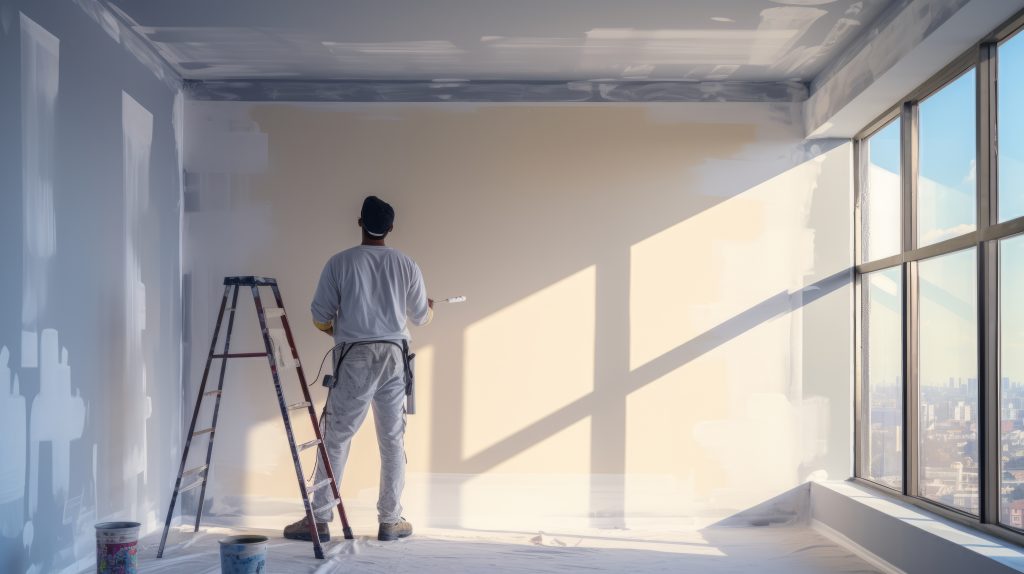
Paint the Walls
Finally, it’s time to start applying your whiteboard paint.
First, mix your paint together, making sure not to mix it so aggressively that it forms bubbles. Whiteboard paint needs to be activated before use, which is why mixing is so important. Only do this right before you’re ready to paint so the activating ingredient doesn’t dry out. Pouring it into the paint tray will make it easier to get even coatings on your roller and paintbrush.
Then, using a foam roller, apply the paint to the wall. Make sure to apply thick coats as you don’t want the paint to be so thin that it doesn’t actually create a thick enough base for your dry erase markers, but also beware of creating clumps of paint. Then, let the paint dry for at least two days and apply a second coat using a second activated can of paint.
