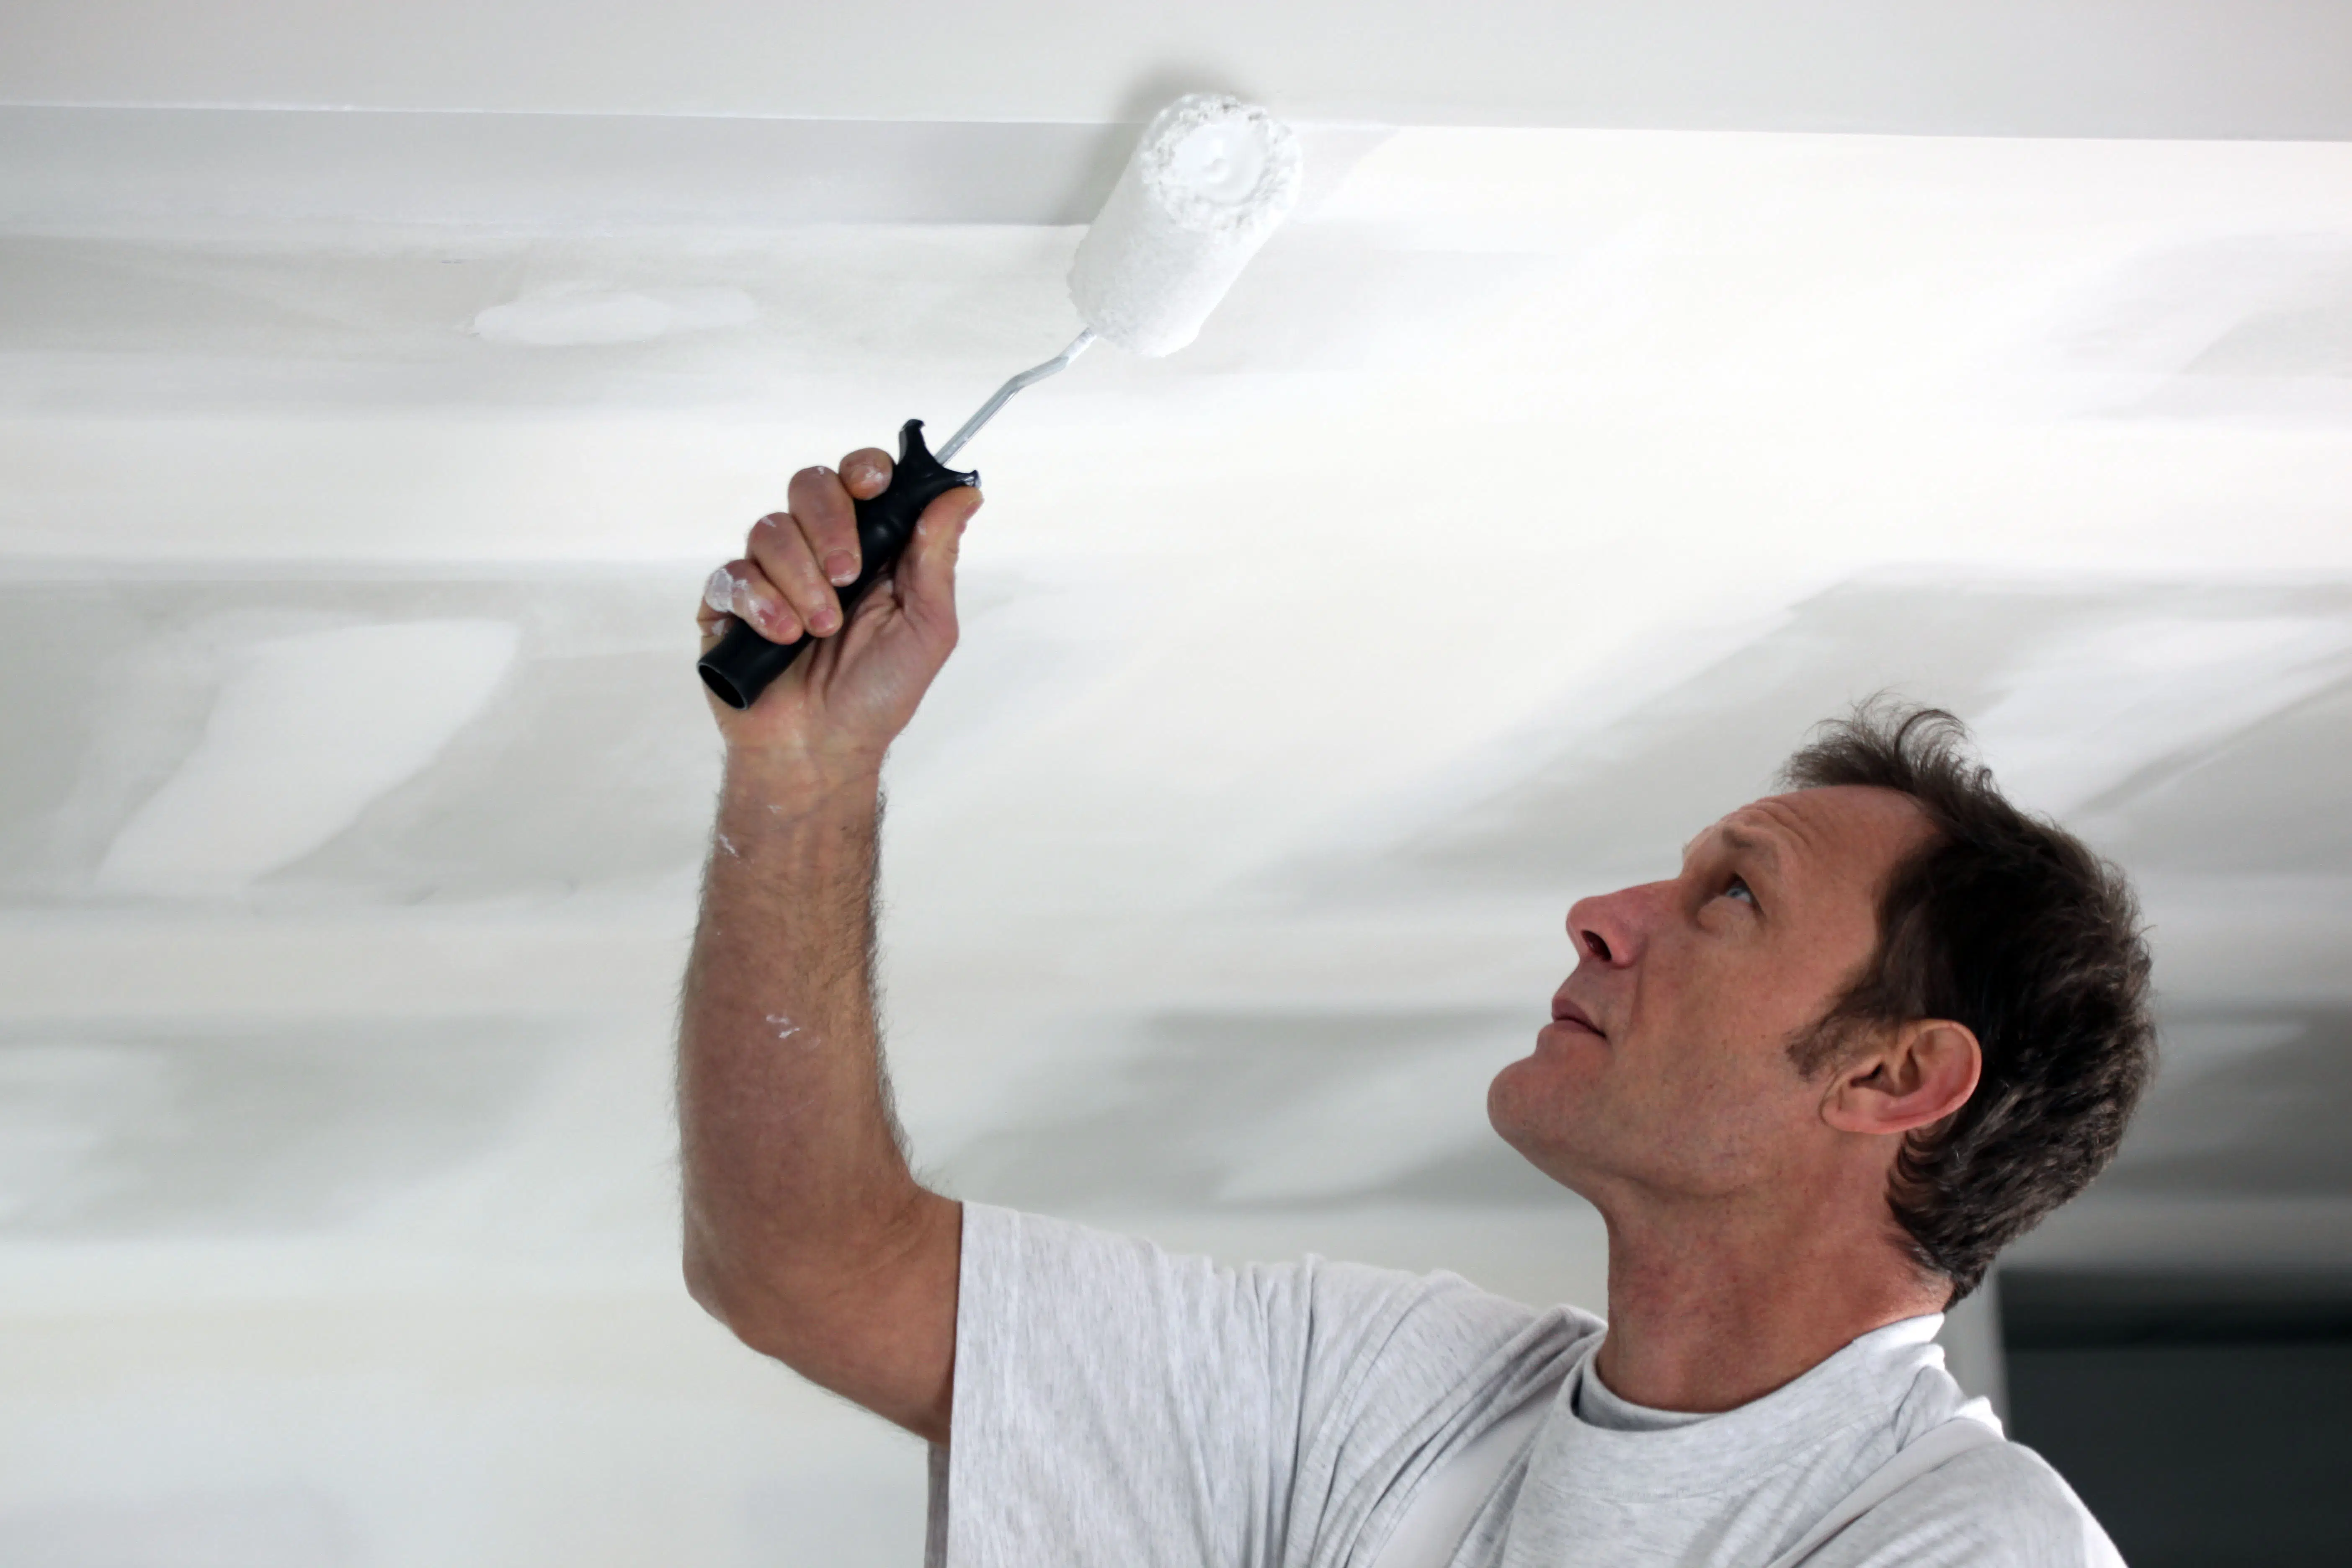
Paint Your Stairwell Like a Pro
May 24, 2022
Tips for Painting Your Ceilings
June 28, 2022Although the process differs in several important ways, staining a wood surface requires the same attention to detail necessary to properly paint a surface. Preparing the wood and applying the right stain is relatively simple, but making simple errors along the way can result in substandard protection and a displeasing appearance.
If you’re planning to stain any type of wood, keep reading for some helpful tips and tricks.
Getting Started
Whether it’s wooden furniture, walls, artwork, or any other surface, the preparation process will begin by sanding the area smooth and all the way down to the wood itself. Leaving any other covering, such as an earlier layer of stain or paint, can create a dull or uneven look in the end.
When the time comes to begin applying stain to the wood, be sure to take proper precautions against possible irritation to the lungs, eyes, and skin. Wearing proper gloves, protective eyewear, and a ventilation mask are excellent steps to take.
Gathering Materials
In addition to the stain, an oscillating sander, and safety equipment, you’ll need a few tools for the job. Starting out with a high-quality brush, microfiber pads and cloths, sandpaper, an empty pail, a drop cloth, and a shop vacuum will set you up for success.
Ensure the area where you’ll be applying the stain has plenty of ventilation so the fumes from all these materials will not have a negative impact on your body. Additionally, it’s important not to attempt this process when the wind is blowing forcefully, since this can cause dirt and dust to corrupt the smooth surface you’re trying to achieve.
Preparing Surfaces
Before you begin applying any stain, place a protective sheet underneath the wooden surface to protect the floor from any spills. Next, remove all accessories, such as knobs or hinges, that will not be receiving a stain covering.
From there, it’s time to begin sanding with a block or sponge to cut through any lacquer or paint that might already be present on the surface. Move up to fine sandpaper or an electric sander to achieve a smooth area for the stain. If you have a shop vacuum, put it to use at this point by removing any residual dust. Finally, wipe the entire surface with a microfiber cloth to make sure that there’s nothing remaining to get caught underneath a fresh coat of wood stain.
Applying Stain
It’s important to mix the stain to the proper consistency with a wooden stick. When it’s ready, transfer the stain into a clean, empty pail. Apply the mixture with a brush or pad by dipping the applicator into the pail. If there’s too much stain, allow it to drip off into the pail before applying it to the wooden surface.
For starters, always attempt to apply stain in the same direction as the wood’s natural grain. Focus on the largest and most prominent areas first before wiping the stain across less visible nooks and crannies. Throughout the process, be aware of any areas of buildup or puddles and remove the unnecessary stain with a clean microfiber cloth. Leaving these areas to dry can lead to discoloration.


