
Tips for Applying Stain Like a Pro
June 14, 2022
Living Room Interior Boosts
July 13, 2022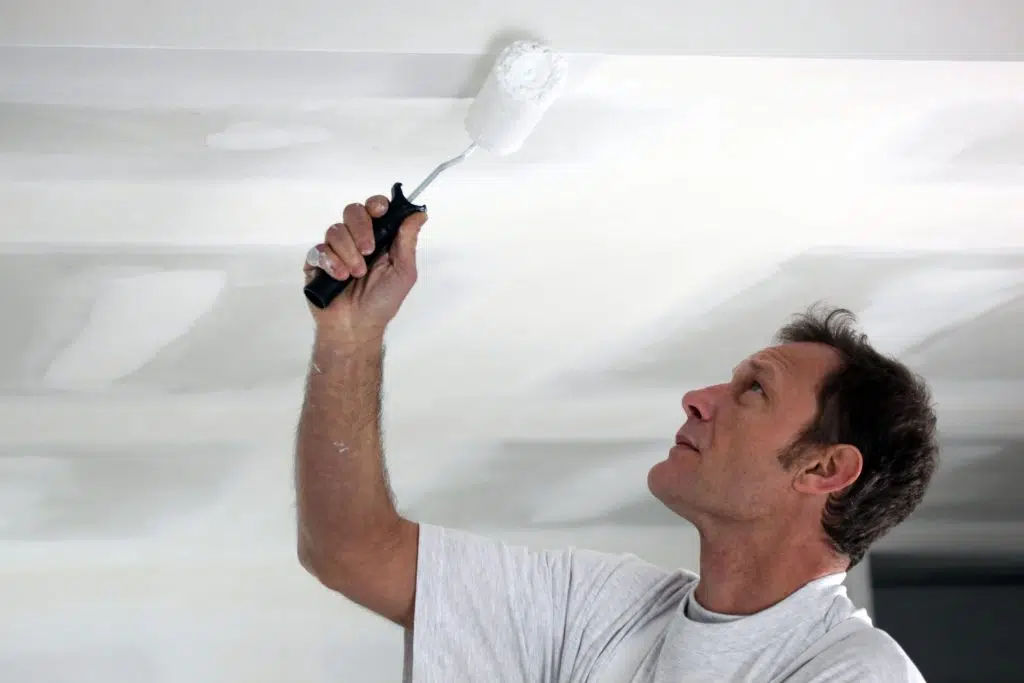
Ceilings are often neglected when it comes to painting projects. People often think that they don’t need to paint them because they’re not as visible. However, ceilings can be just as important as the walls in a room. In this article, we will discuss some tips for painting your ceilings. So whether you’re a homeowner who is planning to tackle this project on your own, or you’re just curious about what’s involved, read on for helpful advice!
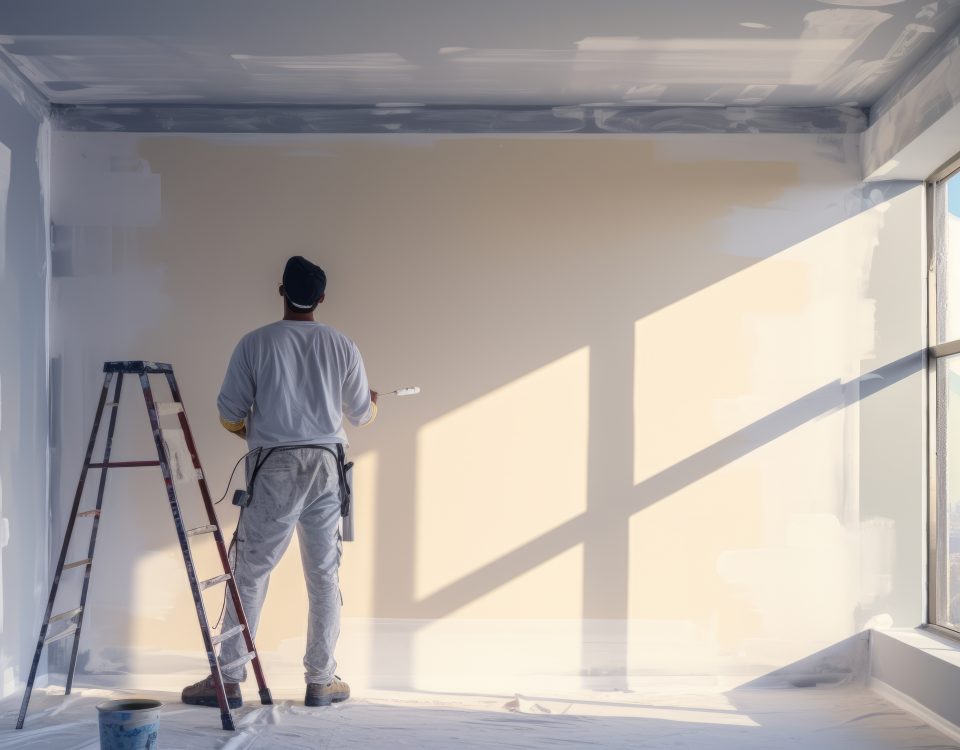
Prep the Room First
Prepping your room before you start painting is the key to a successful project. Lay out drop cloths to catch any paint drips, cover or move furniture to avoid any accidents, and tape off the corners with painter’s tape. Taking these simple steps will help ensure that your painting job goes smoothly.
Once you’ve prepped the room, start by painting the ceiling line first. Use a brush or roller to apply paint evenly along the edge of the ceiling. Then work your way toward the center, using long, even strokes. If you need to, take a break after every few feet to prevent fatigue. And when you’re finished, clean up any paint drips or splatters before they have a chance to dry. With a little preparation and care, you can achieve professional-looking results when painting your ceilings!
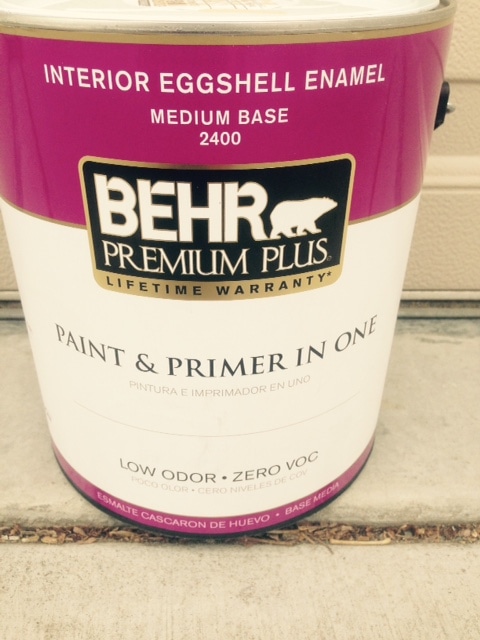
Dust and Prime for a Long-Lasting Finish
Many homeowners avoid painting their ceilings because it seems like a daunting task. However, with a little preparation, painting your ceilings can be surprisingly easy. First, it’s important to dust the ceiling and apply a coat of primer. This will help to create a smooth surface and prevent the paint from cracking later on. Once the primer is dry, you can begin to paint.
Use a Roller to Apply Your Paint to the Ceiling
When painting your ceilings, using a roller is the best way to ensure an even coat of paint that will look uniform and won’t drip. Applying paint with a roller is much quicker than using a brush, and it will also help to avoid any missed spots.
In addition, using a roller will help to keep your paint from running or sagging, which can happen if you use too much paint or apply the paint unevenly. So next time you’re painting your ceilings, be sure to grab a roller and enjoy the professional results.
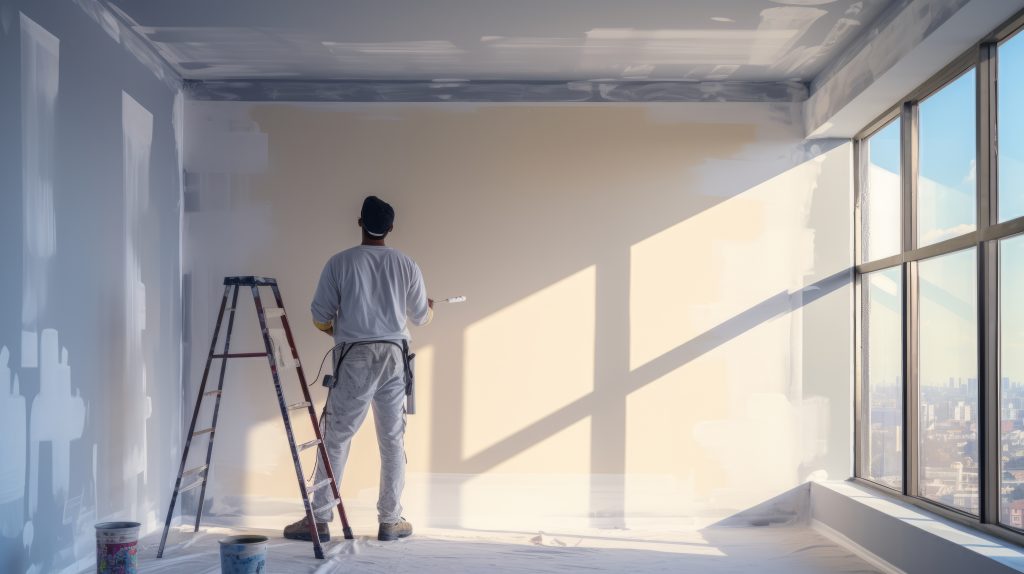
Add a Second Coat If Needed
When it comes to painting your ceilings, getting good coverage is key. That’s why it’s important to add a second coat of paint if needed – especially if you’re using a light-colored paint. The first coat may not seem like it’s doing much, but the second coat will help to even out the color and give your ceiling a nice, finished look. So don’t be afraid to add an extra layer of paint – it can make all the difference!
Conclusion
Painting your ceilings can seem like a daunting task, but with a little preparation and the right tools, it’s surprisingly easy. Just be sure to dust and prime the ceiling before you start painting, use a roller for an even coat of paint, and add a second coat if needed.
