
Upgrade a Room as a Thoughtful Gift
December 14, 2021
Historic Home Care
January 11, 2022
It can be intimidating looking at four walls covered in old wallpaper that needs to be removed. After all, it’s stuck on the walls so well. The art of removing wallpaper is about doing it correctly and taking your time rather than rushing the project.
So, set aside a full weekend or two other days in a row when you’ll have some time, and read this article to find out what supplies you will need and the steps to take to get rid of that old, unappealing wallpaper.
Preparation
There are several supplies you need before beginning the actual wallpaper removal. This includes a tarp or drop cloth to keep your floor protected, sponges, sandpaper and preferably a sander, wallpaper stripping gel, a joint compound, painter’s tape, a scoring tool, a putty knife, and rubber gloves if you’d like to keep your hands protected.
For extra protection, you can cut the electricity from that specific room and use portable lights. Also, cover up any furniture or remove it from the room, and tape over any outlets or light switches.
Start the Peel
While the wallpaper is still dry, try to peel off as much of it as you can. It will probably be easiest to start at the corners and peel inward. You can use a putty knife to help in this process.
The longer the wallpaper has been up, the harder it will be to remove. If you are having a lot of issues with this step, you can use your scoring tool to poke holes in the wallpaper before applying hot water in the next step.
Next, you can use your sponge to put hot water on the walls. Let it sit for about 15 minutes or until you can scrape a bit of wallpaper off using your fingernail. Now, you can use your putty knife again and scrape off as much of the remaining wallpaper as possible. Make certain you are very gentle when you scrape with your knife so as to avoid damaging the drywall.
Use Your Gel
In this step, you will use your stripping gel to get rid of any wallpaper and glue that is left. First, apply the gel to the areas that need attention, and let it sit for about 15 to 20 minutes. Then, once again, you will use your putty knife to scrape this away. Remember to be gentle when scraping.
After this, take a sponge and wipe the walls down with water to get rid of the stickiness. It’s important that you remove any and all glue from the wall to ensure any future wallpaper or paint goes on smoothly. This step can be extremely time-consuming, but it is also vital.
Finishing Touches
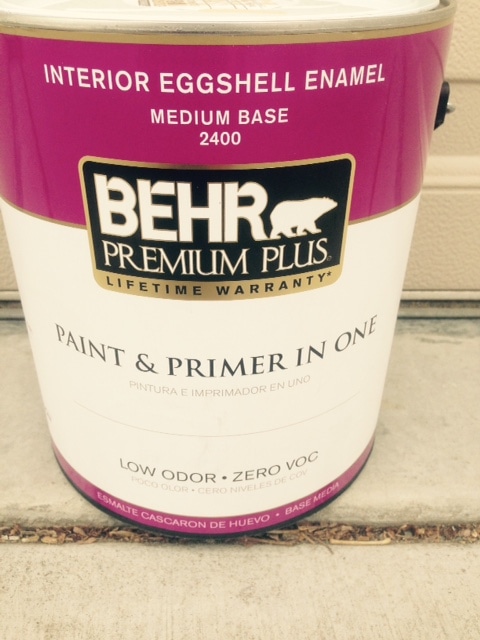
After your walls have completely dried, you can smooth out the drywall. First, use your joint compound to repair any damaged parts of the walls, and then sand the walls to make them nice and smooth and to remove any remaining glue. If you plan to paint the walls, be certain to use primer on them beforehand.
You now have walls that are a blank canvas ready to be filled in.