
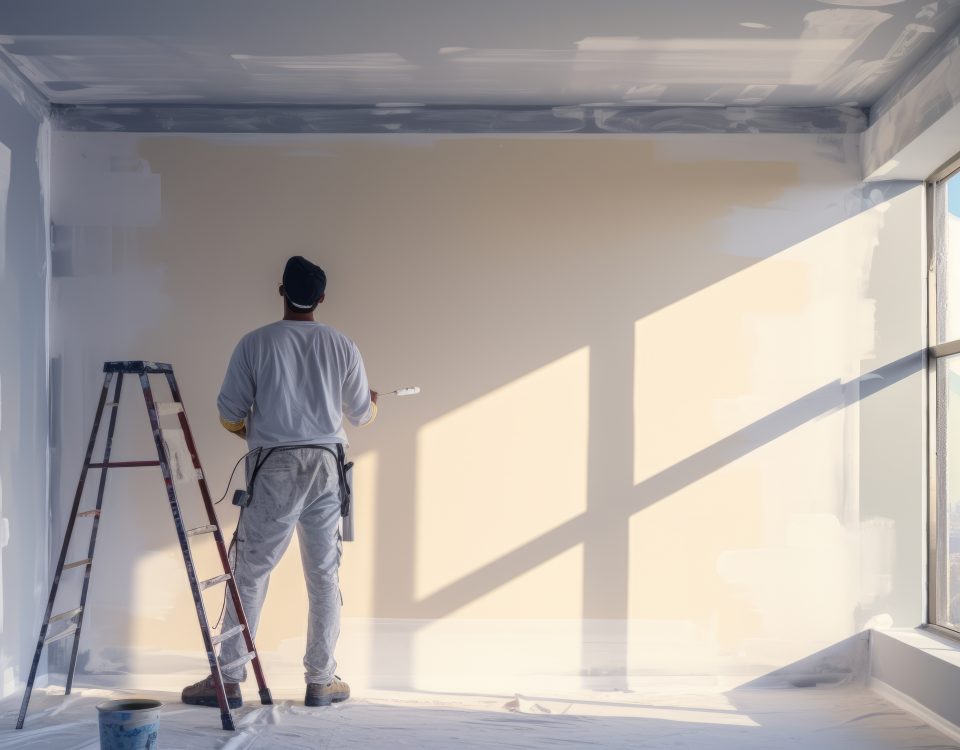
What Is the Proper Way to Paint Interior Doors?
February 22, 2022
2022 Exterior Color Trends
March 22, 2022
If you take care of your wood siding, it can last for a long time. This involves maintaining it and applying fresh paint every few years. The key is knowing how to paint your siding properly so that it lasts. Take a look at the steps to repaint wood siding.
Step 1: Power Wash the Siding
The first step to painting your wood siding is to clean it by power washing it. This helps to get rid of any dirt that will prevent paint from adhering to the surface. Over time, all kinds of grime and mildew can attach to the siding on your house, so you need to remove it.
You can adjust the pressure of the water as you are washing. Start with a gentle stream and increase it as needed. However, make sure that you don’t increase the pressure to the point where it damages the siding.
Step 2: Remove Loose Debris and Paint
Next, you need to remove any loose debris or paint with a sanding block. You can also use an electric sander, but make sure that you keep even, firm pressure so that you don’t damage the wood surface. If the siding is older, the edges could be rough, so you need to sand them to make them smooth again.
Step 3: Fill Holes
If there are any holes or gaps in the siding, you can use exterior spackling to fill them. Determine whether you need one or two coats so that you can fill them evenly. Once they are filled, you should make sure that the surface is smooth. If you have damaged pieces of siding, now is a good time to replace them.
Step 4: Sand Patched Areas
After you finish spackling and wait for it to dry, it is time to smooth it over with a fine-grit sandpaper. You can smooth out any areas that you patched so that there aren’t any bumps when you paint.
You may notice that you need to refill a hole, and you should take the time to do it before moving on to the next step. Move across the siding from one side to the other to make sure that there are no remaining rough spots.
Step 5: Use the Primer
Wait until the spackling is completely dry, and then you can apply the coat of primer. If you find that the siding absorbs the primer quickly, you may need to apply a second coat. It is important to make sure that all of the siding is fully covered by the primer without any bare spots showing through. You should also let the primer dry completely after each coat.
Step 6: Use Caulk to Seal Cracks
Wait for the primer to dry, and then you can check the siding for any cracks of holes. Take some waterproof caulk to fill the holes, and make sure that you create an air-tight seal so that moisture is unable to get into or underneath the siding. This is important because if moisture gets inside, it can create an environment that is ideal for black mold to grow.
Step 7: Paint the Siding
Finally, you can apply the paint. You can spray, brush, or roll it on, and make sure that you paint all of the siding. You will want to do two coats, and you should let it dry thoroughly between each one.

