
Spruce Up Your Summer Home with a New Paint Job
July 12, 2018
Repainting Your Rental Property to Attract More Tenants
August 20, 2018
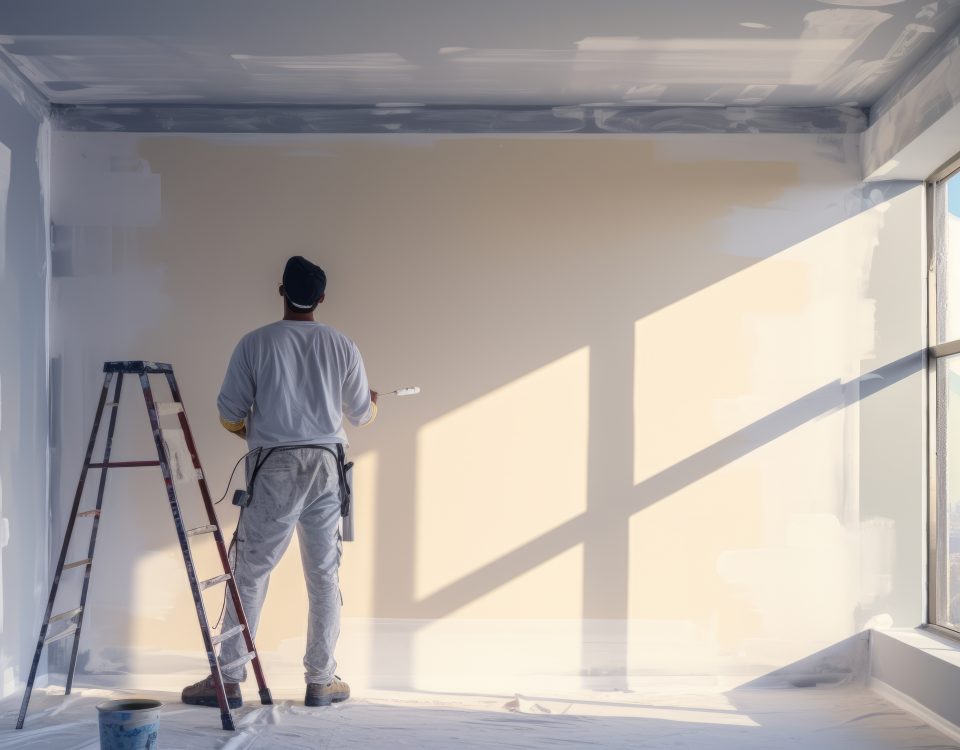
If you’re really looking to get the absolute best paint job imaginable, then you need to make sure you do all the right preparation before anyone even picks up a brush. Too often, homeowners forget how important certain steps are in getting their home ready for a paint job and they end up with bubbles, flaking, and uneven paint distribution. Don’t let your home look like a mess. Here are the key preparations you need to remember to do before you even think about starting to paint the exterior of your home.
Protection and Ground Cover
The last thing that you want after a new paint job are splatters and blotches all over your entryway and plants. So, the first thing you want to do is see how many plastic sheets or tarps you need and cover everything you wouldn’t want hit with paint. Too many homeowners finish their exterior paint jobs with multi-colored bushes.
And plants aren’t the only usual victims. Outdoor accessories, such as hose racks and utility boxes, often end up receiving more than their fair share of paint drippings. Another way to help protect these more intricate items is to use painters tape to cover them completely. Make sure your home looks professionally done by taking these necessary preparational steps beforehand.
Scraping Old Paint
One of the most difficult and time consuming steps in your paint preparation is scraping and sanding off the old paint, especially where it’s already flaking, but it’s an absolute must. Skipping this process will only lead to your new paint coming right off, leaving you with an extremely uneven and unattractive paint job. Why waste all that time doing all that work only for it to look worse than it did before? Make sure you get the proper equipment and get to work so that your home can really look its best.
The Cleaner, the Better
After you’ve taken the time to do all this sanding and scraping, it’s time to make sure that your surfaces are completely cleaned off. The dust from sanding is relatively easy to remove, with most coming off with a quick wipe down or spray from the hose. However, if your home’s exterior is particularly dirty, which can often be the case if you live near heavy traffic bearing roads or a sandy environment, you’ll want to take some extra steps to make sure as much dirt is removed from your siding as possible. If you don’t want to invest in a power washer, you can always scrub by hand, although it will be much more time consuming.
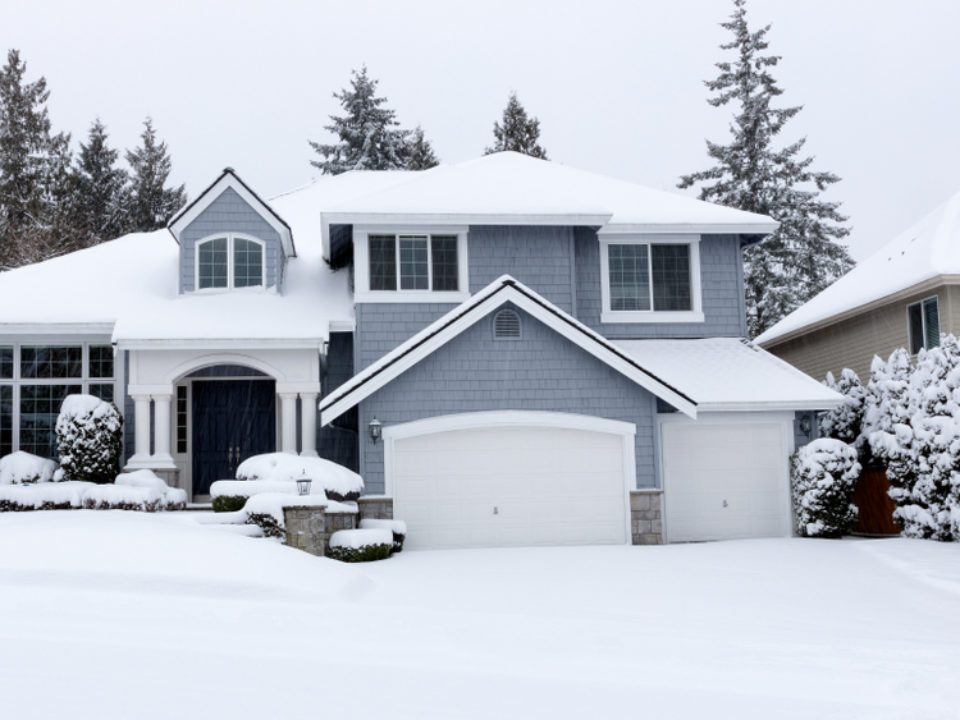
Be Sure of the Weather
The last, and possibly most important step in ensuring the look of your paint job, is to check, recheck, and then check one more time what the weather is going to be like on the day that you plan to paint. Weather can have serious effects on your exterior paint. Not only will rain completely destroy the paint, but things as simple as the temperature can have an extreme effect. Some paints won’t cure at all if the temperature is too high or too low. Make sure you’re working on a warm, but pleasant day if you’re looking to get the most out of your paint.
Starting an exterior paint job can come with its list of difficulties. Keep these preparational steps in mind and you will be on your way to a perfect paint job today.