
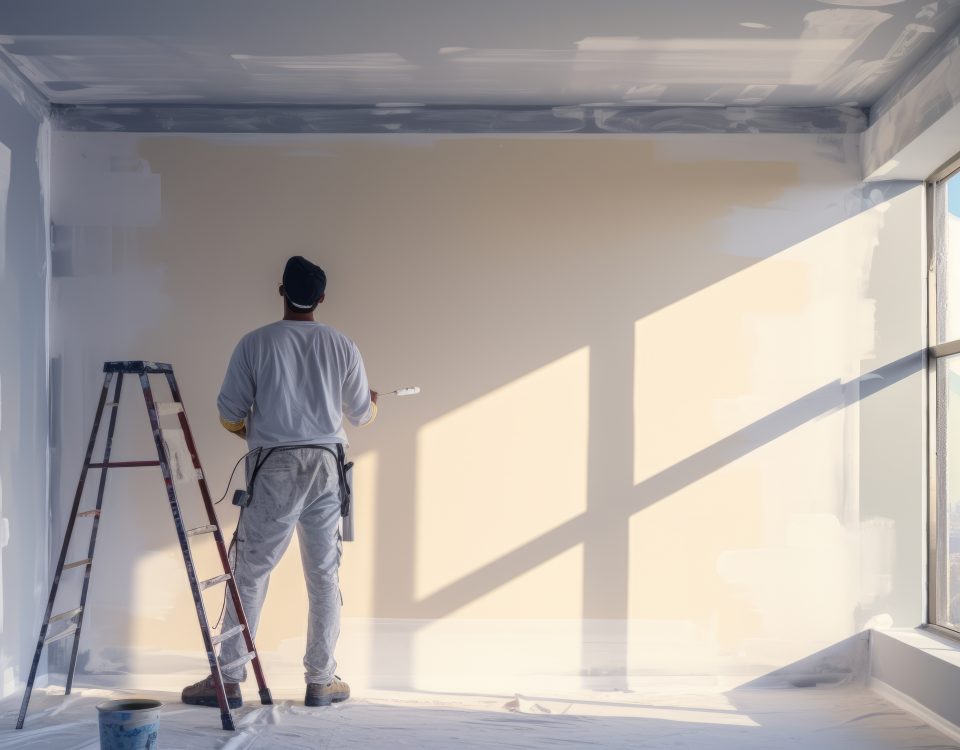
Beautify the Interior of Your Rental Property with Paint
December 3, 2019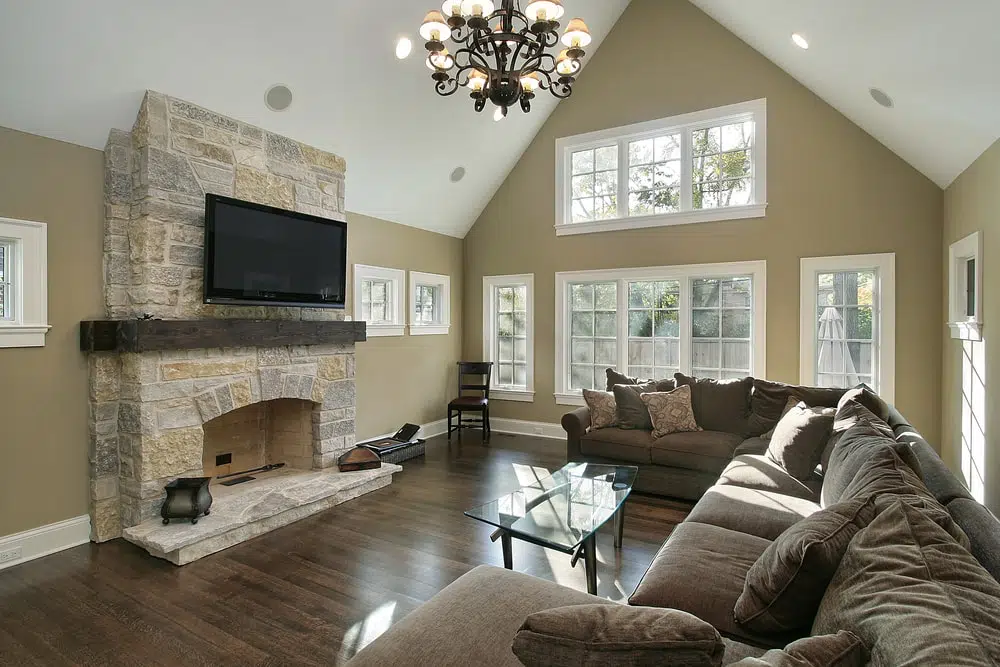
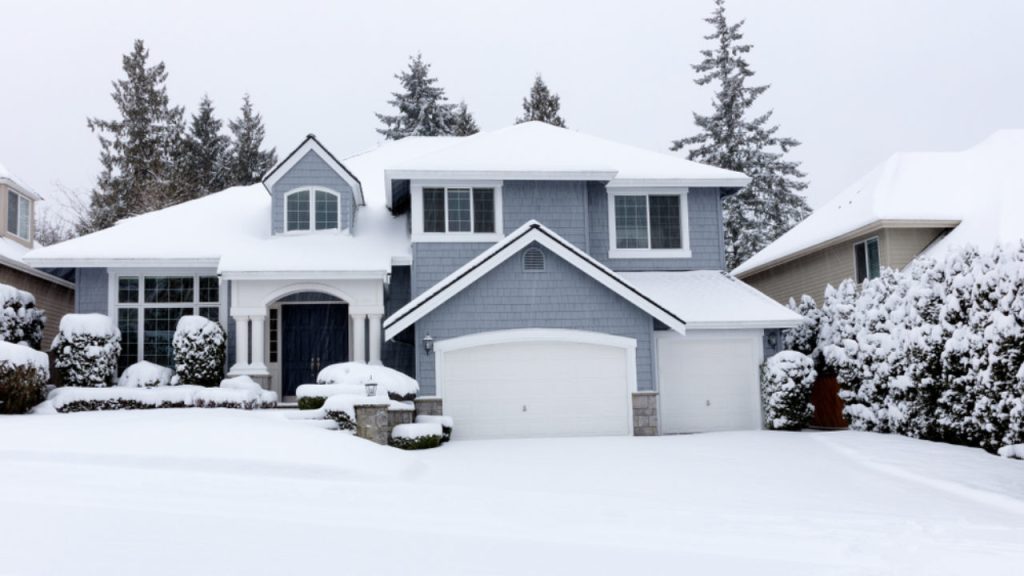
Create a Cozy Family Room with Just the Right Paint
December 23, 2019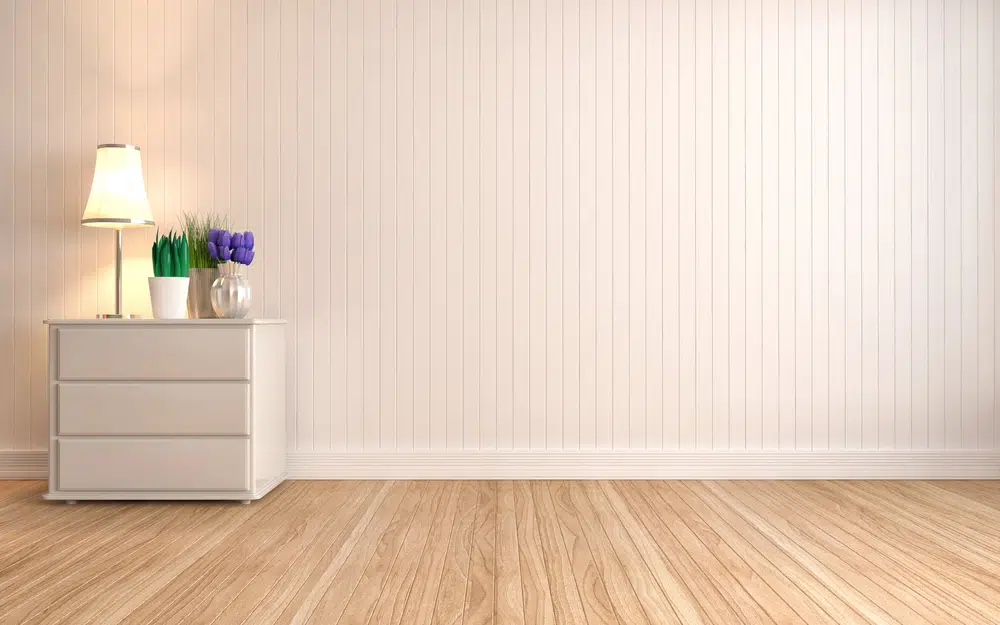
Rooms with wood paneling can be an eyesore if it is not your style. It can feel very outdated and something that you wish would just go away. So, it makes sense that in a situation like that, you would want to paint that wood paneling.
But how can you properly paint that wood paneling without enduring a nightmare of a process? There are a few steps that you should consider to make the entire process smoother so you can get that paneling looking as you’d like.
Clean, Clean, Clean
One of the most important steps in the process of painting any surface in your home is to ensure that the area is clean. Grab some rags and a surface cleaner and get to work to ensure that all the dust and grime is off that wood paneling.
If you don’t, the paint won’t go on evenly. It can bubble, pockets of dust can get trapped, and the entire look of the wood paneling will just seem off. In the end, you will feel frustrated with the quality of the paint job.
Sand and Clean Again
One of the most common issues with wood paneling, particularly older wood paneling, is that there are small knots that can appear over time. This means that you are just painting over those knots and doing nothing to resolve the issue.
To get rid of those knots and make the surface as smooth as possible for painting, you’ll need to sand. Lightly sand the wood surface to ensure that those knots are removed. When you have done so, clean the wall down again to remove any dust and debris created by sanding.
This process might feel like a bit extra, but it will ensure that the paneling remains as smooth as possible so that your paint adheres properly and everything looks as it should.
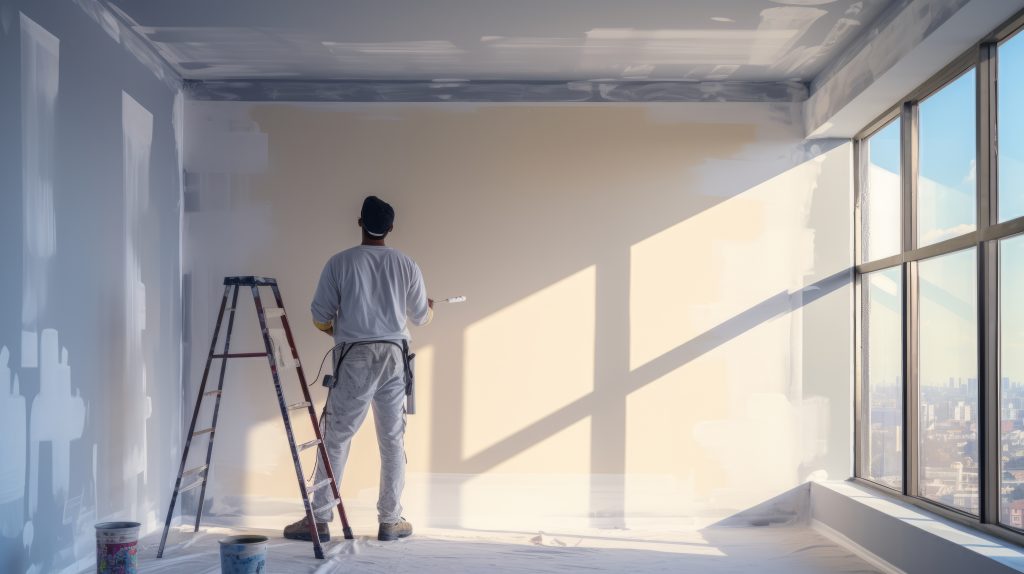
Time to Paint
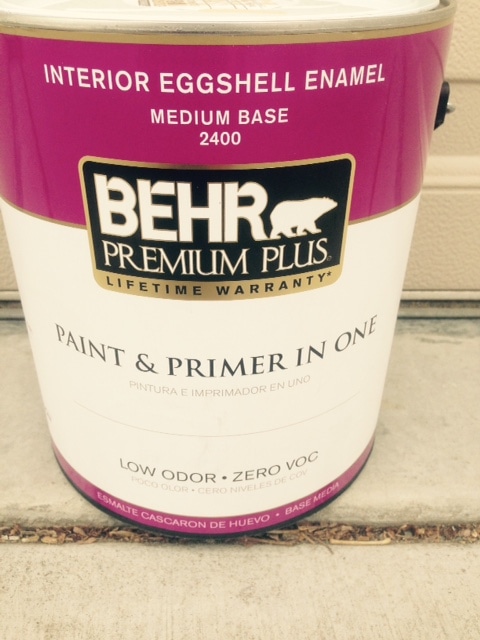
Like most other walls, you will want to work with a primer here. A stain-blocking primer is recommended after the sanding process to ensure that none of the imperfections, wood grain, and any other blemishes won’t show through the final coat of paint.
After covering the wall with two coats of stain-blocking primer, it is now time to paint proper. Roll the paint in thin layers and be sure to pay attention to any excess paint that slides into the grooves of the panel; wipe out any excess paint that could become tacky when dry.
Because of the surface involved, you will need another light sanding between the first and second coats. Be sure to leave adequate drying time between each coat as well. In the end, you will wind up having applied two or three coats depending on how dark the wood paneling is.
To properly paint paneling, it takes patience and could wind up as a weekend project. But in the end, you will have transformed that formerly ugly paneling into something fresh and new.