
How to Store Paint and Chemicals in the Winter Months
March 9, 2021
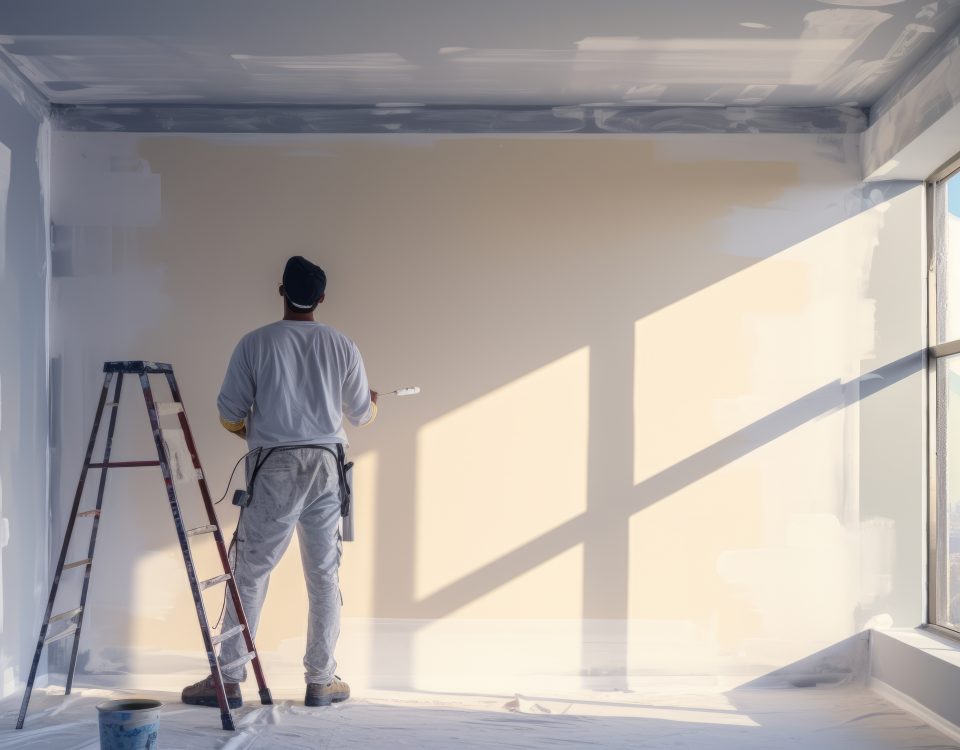
Is it Safe to Have Your House Painted When You’re Pregnant? Here’s All You Need to Know
April 13, 2021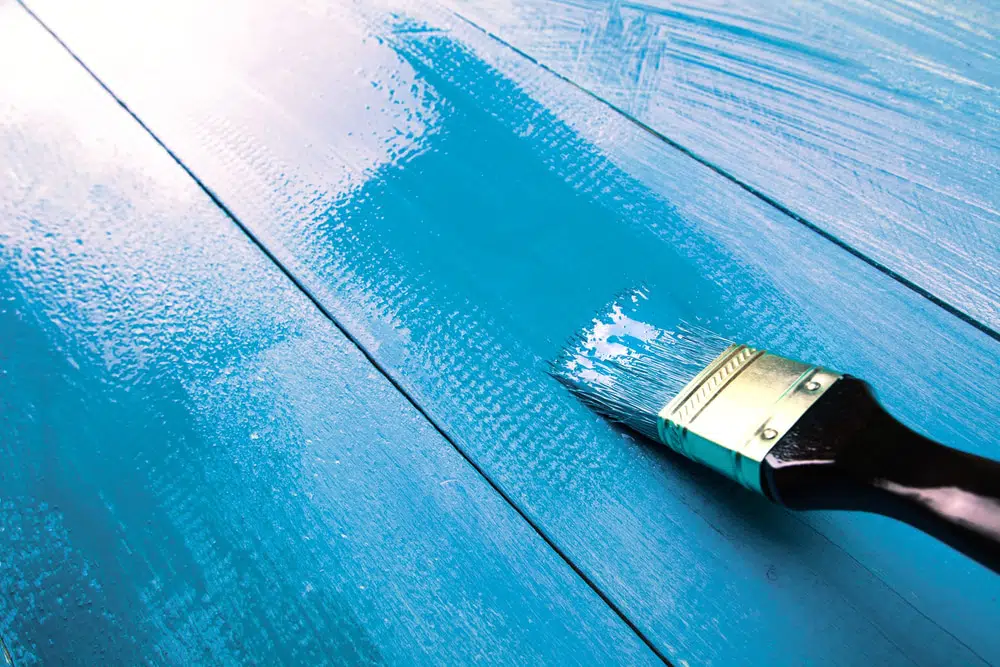
Wood paneling has made a comeback in recent years and with it the need for a few tips when painting wood paneling. Designing wood paneling is quite straightforward and simple, although there are a few guidelines that you should follow if you want to make your wood paneling the best possible.
Thoroughly Clean the Wood Paneling
Before you start adding paint to your wood paneling, make sure that you wipe away any materials, such as dust or dirt, to create a clean surface for your paint. This clean surface will help the paint adhere to the wood surface, which will add time to the lifespan and resistance to peeling and cracking of your wood.
To do this, use a wet rag to wipe down the wood, getting into any crack or grooves in the wood. You might find cobwebs, stains, and other grime on your wood paneling that may need extra attention when a wet rag does not get the job done.
You can use heavy-duty cleaning products or non-toxic chemical substitutes to clean up any extra tough stains or buildups of dirt. If you decide to sand your wood paneling to smooth it out, make sure to wipe down any sand dust to avoid painting over it later on.
If you end up finding any holes in your paneling, you can apply wood putty, let it dry, and sand down the dried putty to make the surface smooth. Again, make sure you wipe down the surface where you sanded down the putty so that you do not end up with any bumps or clumps after you paint.
Be Sure to Prime Your Wood
Once your wood is clean, you can start adding primer to get the wood surface ready for the paint. Adding primer before painting will help your paint stick strongly to the wood, and make a thin barrier between the two, essentially keeping the paint from seeping into the wood and potentially ruining it.
Priming your wood also offers added benefits to your paneling, such as helping your finished product stay smooth and seal the paint. Skipping this step risks making the paint patchy, which is not desirable for both the aesthetics and the long-term resistance of the wood.
Carefully Paint the Paneling and Trim
After cleaning and priming your wood paneling, take care when painting, especially the trim part. The best way to do this is by starting at the top of the wood paneling and working all the way down, following the direction of the wood grain.
Make sure that you paint the little gaps in between the panels and be sure to remove any drips or spots where the paint piles up. If you let these drips or odd spots dry, your panel surface might not be smooth, and once the paint is dry, it becomes much more difficult for you to correct these spots.
As for the trim, one tip is to use a glossy finish to help make the trim stand out. While this is all down to personal preference, the trim is a great way to add an extra element to your wood paneling.
