What Is Making My Paint Peel on the Interior of My Home?
October 7, 2016
What Are the Steps to Painting a Front Door?
October 27, 2016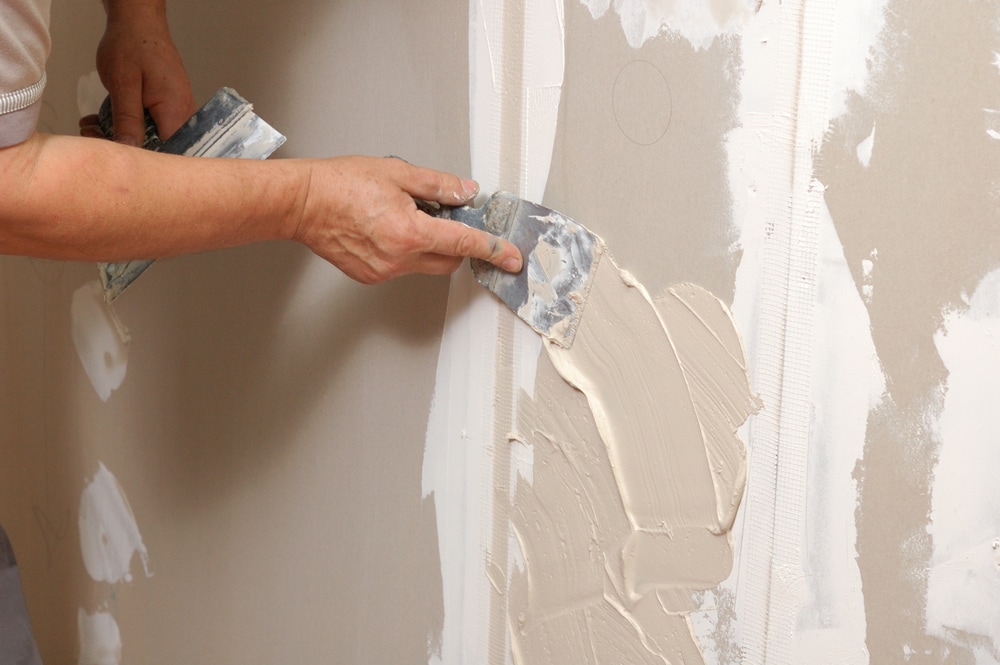
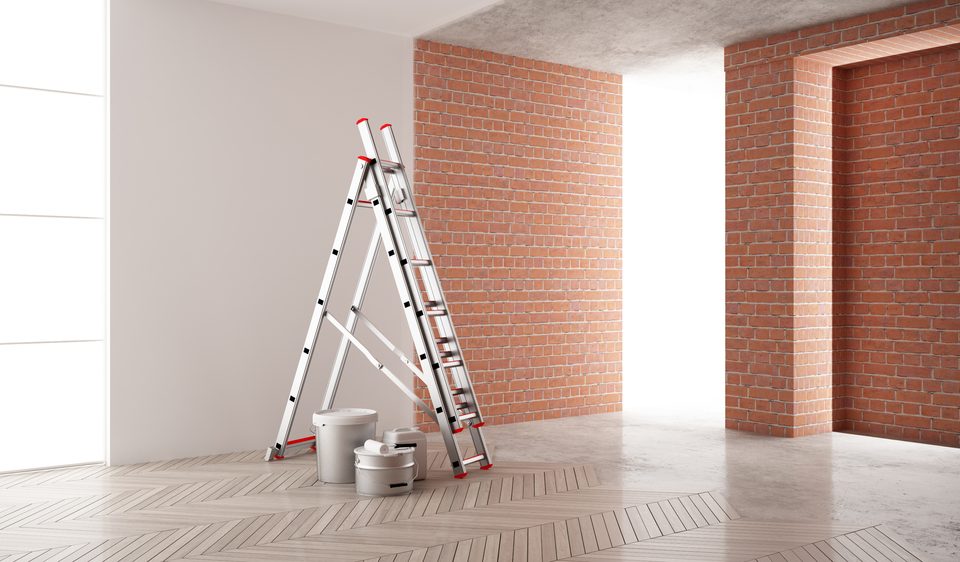
When the interior of your home receives a fresh coat of paint, it can easily make the entire home look brand-new. After all, paint can hide existing stains and tears, and can quickly make the room go from dull and old to looking clean and new. Painting, however, is not a one-step process. In order to do it properly, all walls must be well taken care of and repaired before any painting is started. How do you do this? Although not all walls have the same challenges to deal with before painting, there are a few steps that are necessary in nearly every case.Most homes contain basic drywall and are actually quite similar when you consider what most walls are made of. Preparing your drywall the right way, however, is crucial if you want your final product to be a smooth and attractive wall that looks unique and modern.
Start with the Basics
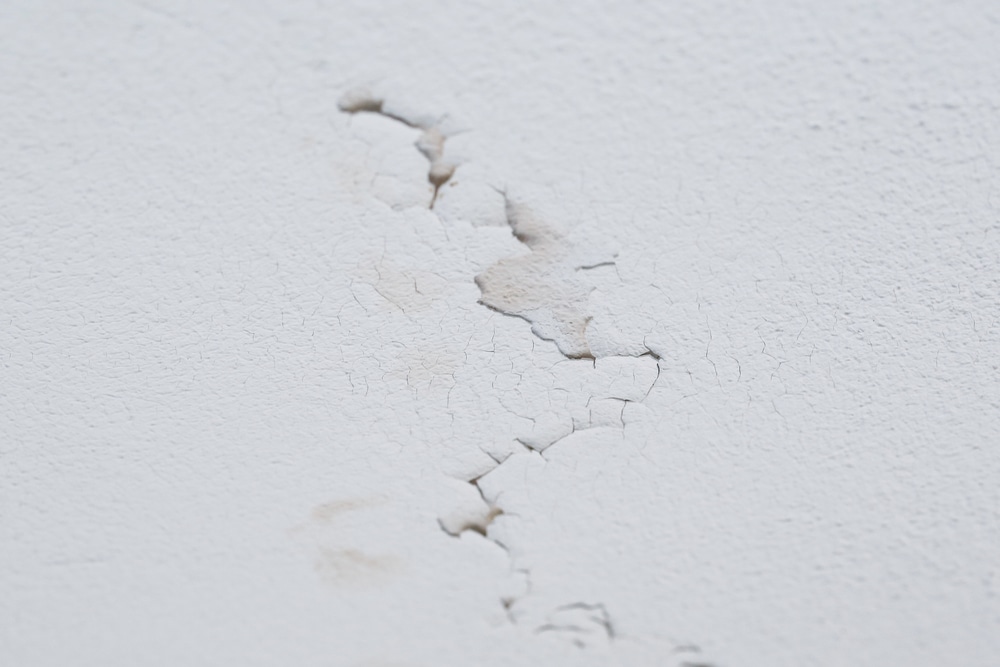
No wall is perfect, as most of them have nail bumps, scratches, or unevenness that takes away from the otherwise smooth appearance. Fortunately, there are steps you can follow to prepare your walls so that when the painting starts, the results will look smooth and even.
- Fill all holes and small bumps to make them smooth again by using either putty or wall filling, depending on the type of hole or bump. Larger bumps and holes may need a self-sticking patch covered in building caulk.
- If there are cracks in any corner of your room, use caulking to fill them in and, if necessary, use joint compound, tape, or nails to complete the job.
- If you notice any loose tape, cut it out and replace it so that the area is smooth and clean-looking again.
- If there are unusually large areas that need to be repaired, you may need to “skim coat” the area and apply thin layers of joint compound; with this job, it is better to work one small area at a time, no more than 4’ x 4’ in size.
Essentially, all walls need to be as smooth and even as possible or it can negatively affect the final look of the room. Fresh paint will not cover up the impairments, and in some cases can even accentuate them, so taking your time and getting your drywall smooth before painting is always a must.
What to Do Next
Different types of paint can have different requirements when it comes to preparing your walls beforehand, so it is always good to read the directions before starting your paint job. Sanding is another important step in your preparations, and should never be overdone. Over-sanding can result in additional tears or scuff marks, which will then need to be repaired before the painting begins. If you are having trouble finding all of the problem areas in your drywall, try using a utility light to look closely at your wall. Making sure that all problem areas are identified and properly repaired allows you to move on to your next step, the actual painting, so that in the end, you will have a wall you can be proud of.