
Complete Your Stairway with These Painting Tips
February 28, 2018
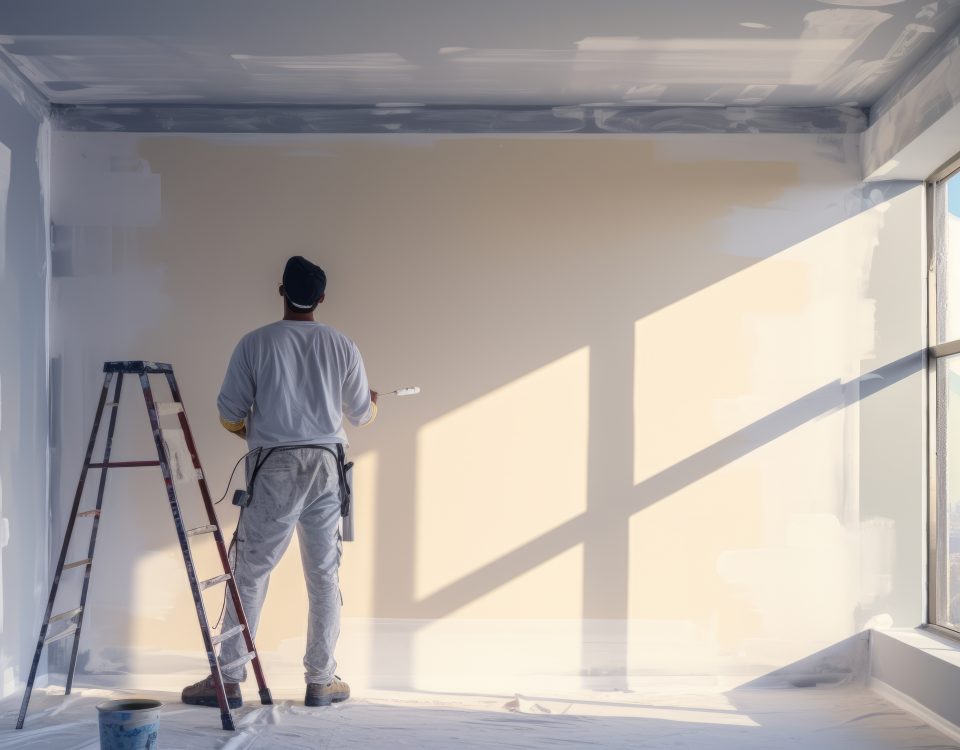
Steps to Prepare Your Home for an Interior Painting Project
March 31, 2018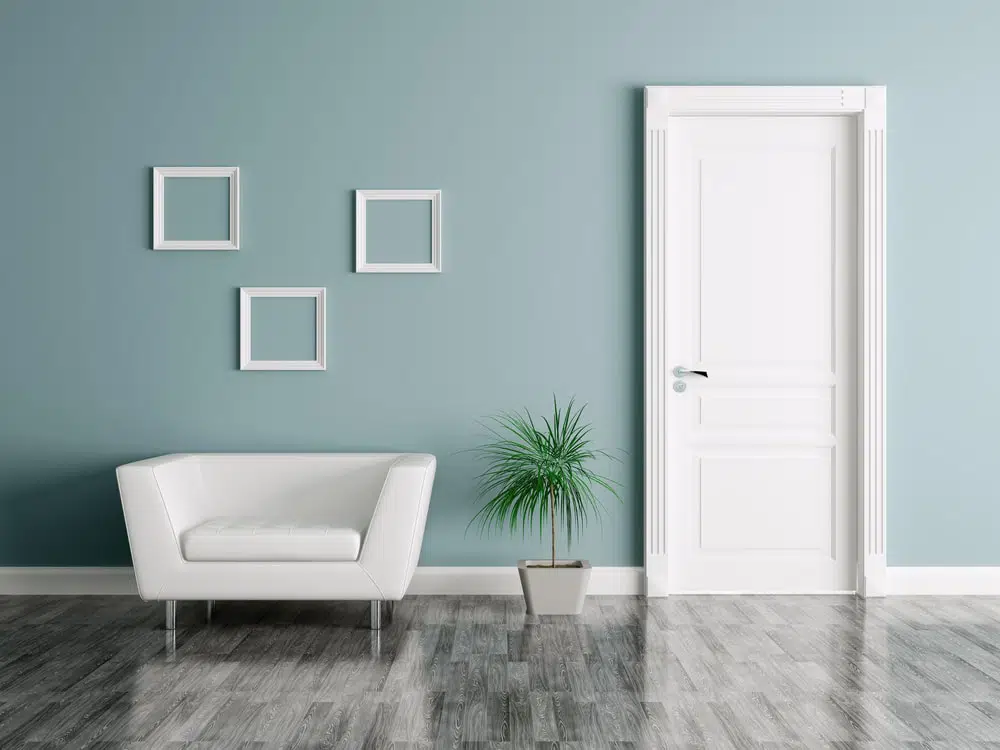
Painting an interior door is not a project where you simply slap on the paint and “Voila!” – you are finished. To make sure the project is done right, you need to follow specific steps. You can choose to paint the door either attached or unattached. The following information covers both ways to paint an interior door.
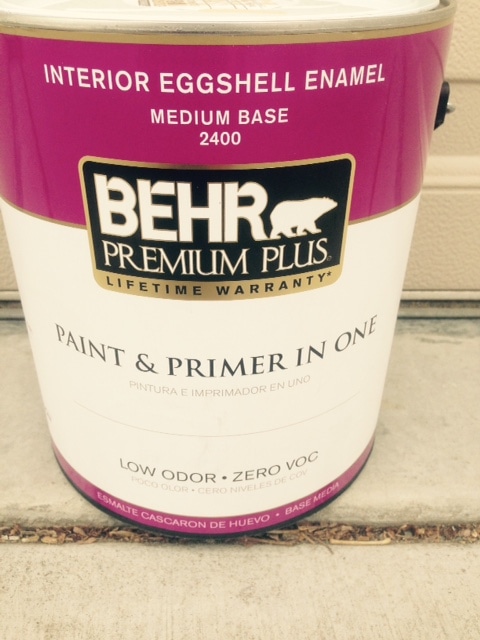
Before you begin your painting project, you will need some tools. To paint an unattached door, you will need screwdrivers and a hammer. For both an attached or unattached door, you will need a paintbrush, palm sander, drop cloth, and sanding block. If you can do so, it is better to paint the door unattached as it simply is easier to do and you often get better results.
Painting an Unattached Door
To paint an unattached interior door, you will need to remove all the door’s hardware. Take the old hardware to a retailer to buy replacements. What is great about painting an unattached door is the fact you can paint it outside, which allows for better ventilation.
When removing the door, use a screwdriver and hammer to remove the lower hinge pin. You should have someone help you when you do this task; position the door on sawhorses for painting. If the door is paneled, paint the recessed panels first followed by the horizontal rails and vertical stiles. If you paint following this approach, you will not create extra brush marks.
After you have painted the door, allow it to dry completely. Should you need to paint the door a second time, lightly sand it before wiping it with a tack cloth. Once you are done painting the door, you should seal the bottom and unpainted edge of the door with a wood sealer. This small, albeit important measure, will keep moisture from absorbing the wood. Water causes swelling and warping, which leads to problems with opening or closing the door.
Painting an Attached Door
If you choose to paint an attached door, apply the paint to the top panels on the inside first. Smooth the paint application by brushing the paint and running the brush along the grain. Paint the recessions before applying paint to the panel faces. If the door features a center vertical stile, apply paint to this part next. Blend the brush marks of the stile with the horizontal rails.
The rails on the door are the framing sections that run horizontally. When applying paint to this section, always begin with the top rail and apply the paint from top to bottom. Next, paint the remaining stiles, beginning on the left side of the door. Feather the wet brush marks appearing on the rails. Make sure you paint in as straight of line as you can along the perimeter where the rails and stiles meet. Be careful about creating any splatters or runs on the door’s face.
If the door you paint is flat, you do not have to take it off its hinges. However, removing the hardware, such as the bolt and knob, will make the painting job easier. Again, make sure you avoid splattering or dripping the paint. You should finish the perimeter with a small paintbrush.