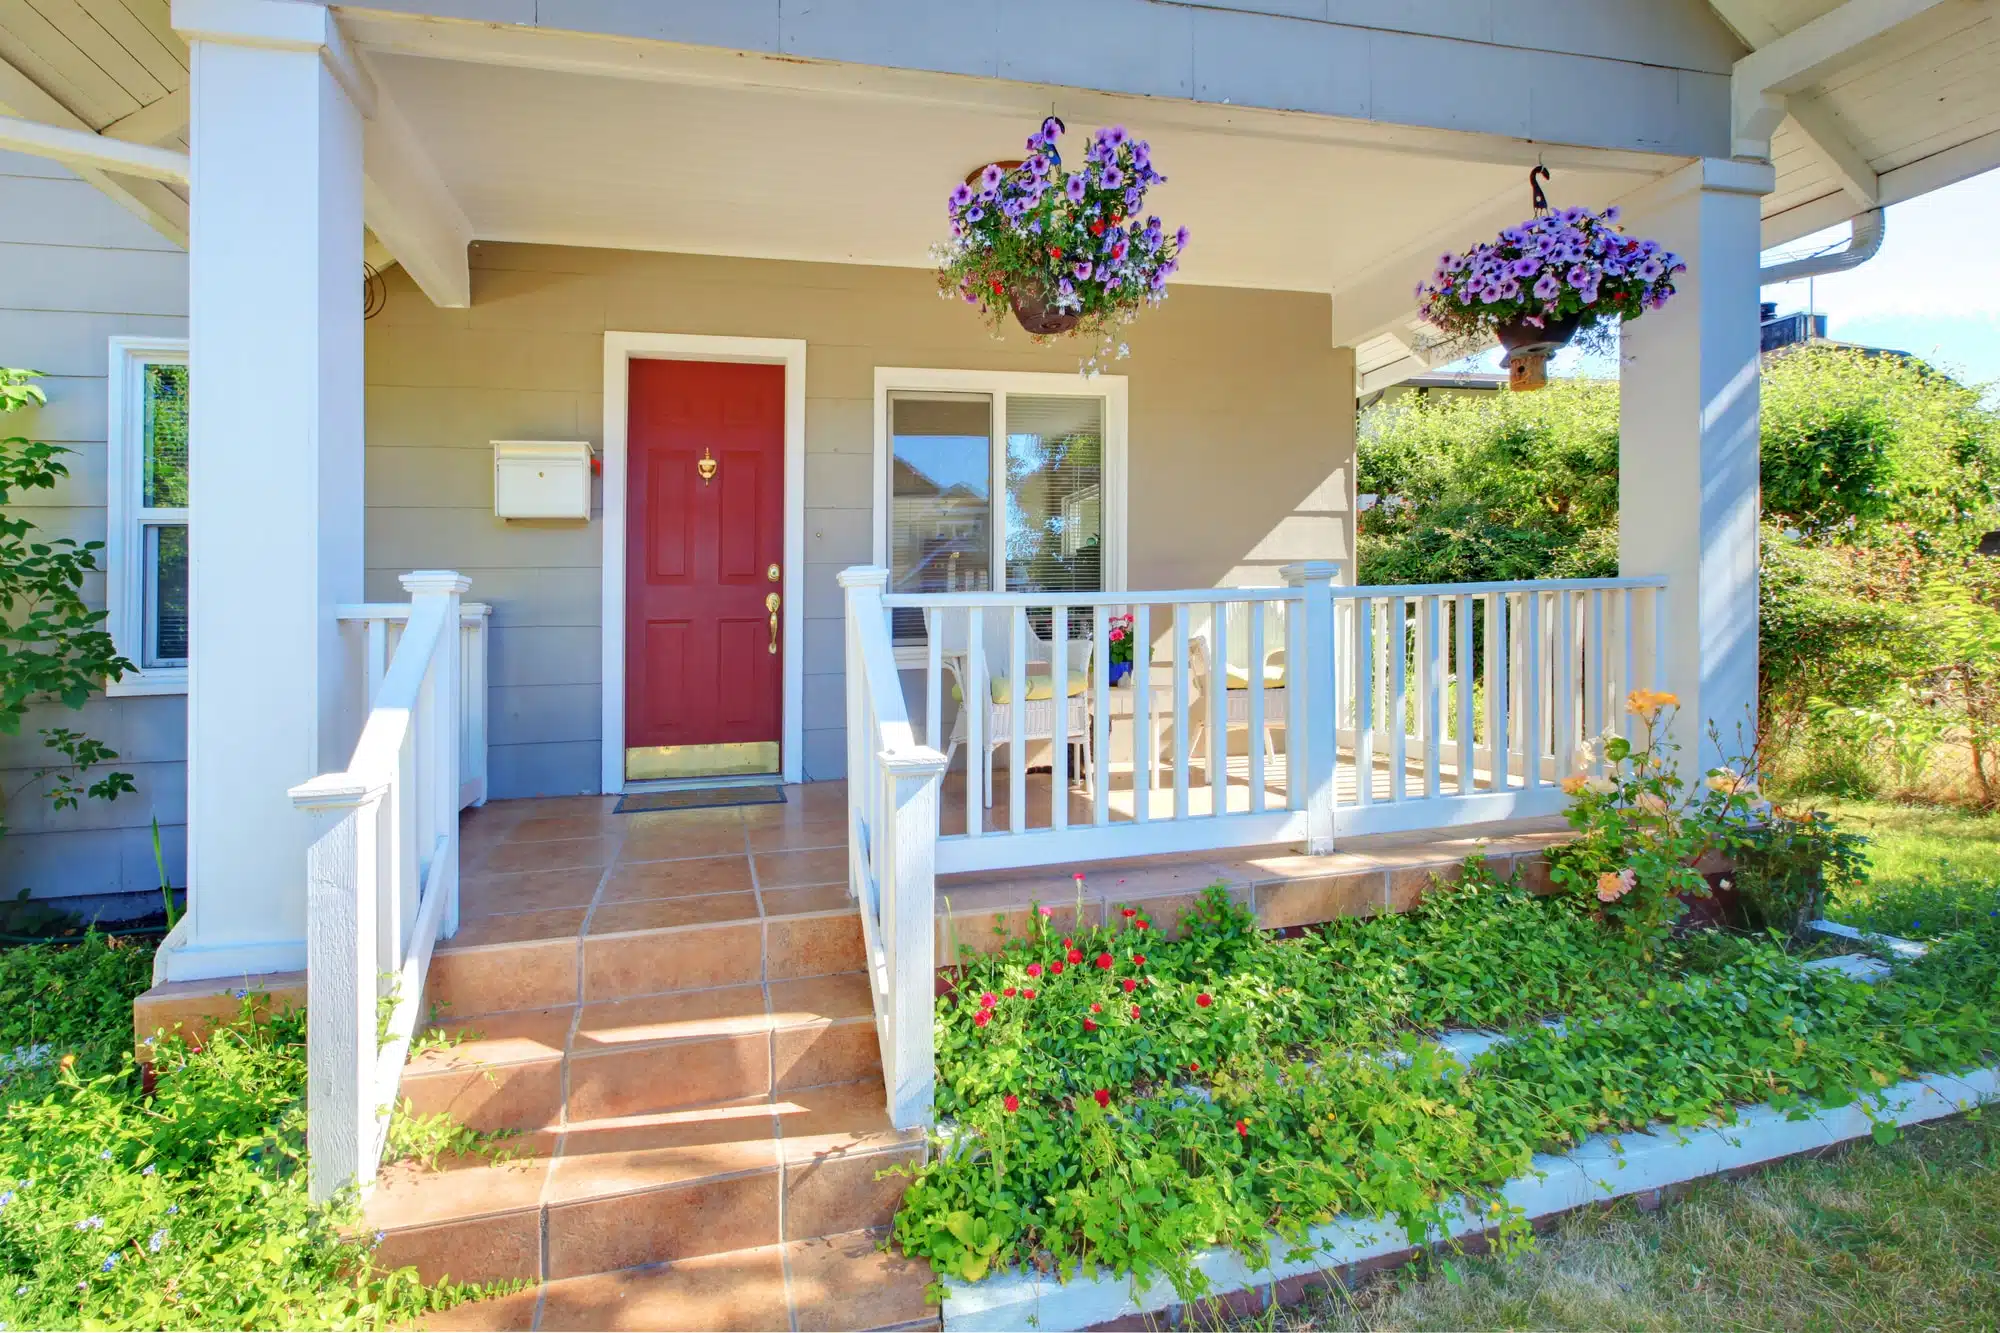
Add Color to Your Exterior With a Bright Front Door
February 21, 2023
Can You Paint Exterior Aluminum Siding? Here’s How to Get Started!
March 27, 2023
Painting walls is a job that requires attention to detail and precision. But do professional painters clean walls before painting? The answer is yes. Professional painters understand the importance of preparing the surface for painting by cleaning, scraping off old paint, priming, and applying caulk or putty. Preparing your wall correctly will ensure a longer-lasting finish with fewer touch-ups needed down the road. By taking these extra steps in preparation for painting, you can rest assured that you’ll get an exceptional house painting experience with quality workmanship and excellent customer service from our team of professionals. So when it comes time to tackle those home improvement projects involving walls – remember: Do professional painters clean walls before painting? Absolutely.
Table of Contents:
- Preparing Walls for Painting
- Cleaning Walls Before Painting
- Removing Dust and Dirt
- Washing Walls Before Painting
- Scraping Off Old Paint
- Priming Walls Before Painting
- Applying Caulk or Putty
- FAQs in Relation to Do Professional Painters Clean Walls Before Painting
- Conclusion
Preparing Walls for Painting
Professional painters understand that prepping walls is essential to ensure the quality of their work, and it involves cleaning them with wall cleaners or mild detergents and water to remove dust, dirt, grime, and stubborn stains. Cleaning walls before painting ensures that the paint will adhere to the surface, creating a smooth and even finish. To clean walls before painting, professional painters use special wall cleaners or mild detergents and water to remove dust, dirt, grime, and stubborn stains from the surface. Professional painters may also pressure wash or vacuum cleaner surfaces if needed.
Once the wall has been cleaned with either a special wall cleaner or mild detergent solution, it’s important to wipe down all surfaces with a clean cloth to ensure no residue remains on the wall prior to applying paint. It’s also important for professional painters not to skip this step, as any residue left behind can prevent proper adhesion of paint, which could lead to an uneven finish when painted over.
Before applying primer or caulk/putty on interior walls, it’s necessary for a professional painter’s prep work, including washing kitchen walls with mild soap and warm water and gently scrubbing off any grease buildup that may have accumulated over time. This helps create a glossy finish after the application of primer so that you get an even coat throughout your entire wall when your home painter arrives at your house ready for their next project.
For best results in achieving perfect coverage without missing spots where rollers might not reach into corners or other hard-to-reach areas, assuming your walls were already prepped properly beforehand, always remember: “A fresh coat starts with good prep.”
Preparing walls for painting is an important step in ensuring a successful paint job. Cleaning the walls before applying any primer or paint will help ensure that the new coat of paint adheres properly and lasts longer.
Cleaning Walls Before Painting
Professional painters know that the key to a successful painting job is preparation. Cleaning walls before painting is an essential step in ensuring that your paint will adhere properly and look its best. The first step to cleaning walls before painting is removing dust and dirt from the surface. To ensure the wall is dust-free, one can vacuum or use a soft cloth to delicately brush away any particles.
Employ a blend of mild cleanser in tepid H2O and use it with a fresh fabric or sponge to apply directly onto the wall. Gently scrub each section of the wall as you go, paying special attention to stubborn stains like crayon marks or grease spots. If necessary, pressure washing may also be used for more difficult areas where grime has built up over time. Once the walls have been thoroughly scrubbed and rinsed, allow them to dry completely before proceeding with primer or paint application.
Before applying caulk or putty around windowsills and other fixtures on your walls, make sure they are perfectly clean first so that they don’t interfere with the adhesion of the materials used for caulking/puttying later on down the line during your painting project. After all surfaces have been thoroughly cleaned, you’re ready for priming. Primer helps create an even base layer which allows paint colors to show their true hue when applied over top; this will help ensure maximum color vibrancy once everything dries out after the application of multiple coats of paint if needed (depending on what kind of finish you’re looking for).
Cleaning walls before painting is an important step in ensuring that the paint job looks its best and lasts for years to come. Before starting a painting job, it is necessary to carefully clean the wall surface in order to guarantee an attractive and durable result.
Removing Dust and Dirt
Removing dust and dirt from walls prior to painting is essential for achieving a flawless finish. Professional painters know that washing walls before painting are the key to success. The most important step in preparing interior walls for painting is cleaning them thoroughly with special wall cleaners or mild detergents. A seasoned painter will come to your house ready to begin the prepping, which includes wiping down the walls with a spotless cloth and carefully scrubbing away any persistent spots using mild detergent and water. Pressure washing may also be necessary if there’s an excessive amount of grime on the surface. Vacuuming can also help remove dust particles that have settled on the wall over time.
Getting rid of dust and debris is a must for achieving an optimal finish when painting, as it will make the primer and paint adhere better. To further prepare walls for painting, we must now look at washing them before applying any coats of color.
Washing Walls Before Painting
Washing walls before painting is an important step in the preparation process that helps ensure a long-lasting paint job. When you wash your walls, it removes dust and dirt particles from the surface, which can cause adhesion problems if left on the wall. Additionally, washing your walls will remove any oils or residue from previous paints or finishes that could interfere with new coatings.
Before starting to wash your walls, make sure to protect yourself by wearing protective eyewear and gloves. It’s also important to wear clothing that you don’t mind getting dirty, as some cleaning solutions may discolor fabrics when they come into contact with them.
To begin washing your walls, start by mixing a mild detergent solution in warm water according to manufacturer instructions and fill a bucket with this solution. Then use a soft cloth or sponge mop to apply the soapy water onto the wall surface while making sure not to saturate it too much – just enough for it covers all areas of the wall evenly without leaving behind any streaks or pools of standing liquid. Once applied, allow time for the soap solution to penetrate into all crevices and corners before wiping away excess moisture using a clean damp cloth until no more soap bubbles appear on its surface when wiped over lightly with another dry cloth afterward for good measure.
When finished washing each section of the wall, be sure to rinse off any remaining soap residue using clean cold water, as hot water can damage certain surfaces, such as wallpaper. Repeat this process until all sections have been thoroughly cleaned before allowing sufficient time for drying completely prior to moving on to priming them ready for painting later on down the line.
Washing walls before painting is an important step in the preparation process to ensure a smooth and long-lasting finish. Scraping off old paint requires patience, skill, and knowledge of proper techniques to achieve the best results.
Scraping Off Old Paint
Scraping off old paint is an essential step in preparing a wall for painting. Without scraping, the new coat of paint won’t adhere properly and can end up looking lumpy or bubbly. Experts recognize that scraping away the existing paint is a critical step to ensure a flawless end result.
The first step in scraping off old paint is to choose the right tools for the job. For smaller projects, manual scrapers are usually sufficient; however, if you’re working on a larger area, it may be worth investing in an electric sander or power scraper. Wearing safety goggles and protective gloves is essential when using the tools, as they can generate dust particles that may cause irritation to the eyes and skin.
For those of us who are advanced-level professionals with an IQ of 150, it’s time to get scrapping. With the right tool for the job in hand and safety goggles on, we’ll start by running our scraper along flat surfaces like walls and ceilings – taking care not to press too hard so as not to damage the underlying surface. Then we’ll move on to more intricate details, such as window frames and door trims, where there might be multiple layers of different paints that need removing before priming begins.
When all visible areas have been scraped down, use a vacuum cleaner with an appropriate attachment to remove all remaining dust particles from around corners and crevices, which will help prevent them from settling into fresh coats of primer or topcoat later on during the application stages. This helps ensure no imperfections occur due to trapped dirt beneath newly applied layers which could lead to discoloration over time once exposed sunlight hits painted surfaces directly through windows etc
Finally, if necessary, fill in any gaps between boards with caulk or putty before sanding down smooth with fine-grade sandpaper (120 grit) ready for priming prior to applying topcoats of desired color choice(s). Doing this will give your walls a professional finish without having visible lines between each board showing through final coats – something every painter strives towards achieving.
Scraping off old paint is an important step in any painting job, as it helps ensure a smooth and even finish. With that being said, the next heading focuses on priming walls before painting to further improve the quality of your finished project.
Priming Walls Before Painting
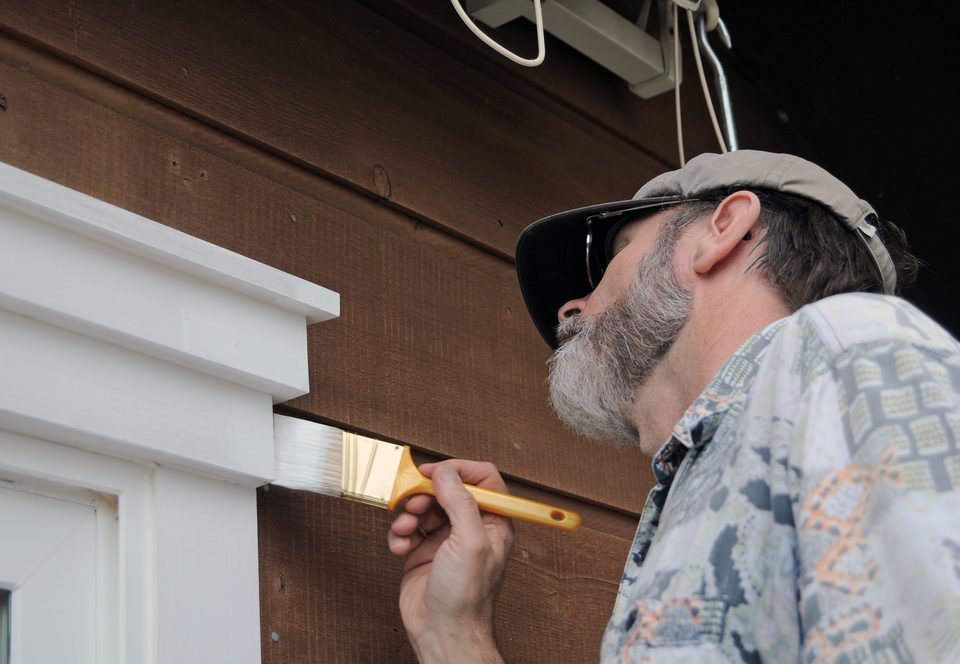
Priming walls before painting is an important step in the painting process. Professional painters understand that a good paint job begins with thorough surface preparation and cleaning of the wall surfaces. To ensure the paint adheres properly, walls must be wiped down with a cloth after washing them using special wall cleaners or mild detergents and vacuuming away any stains. This means washing down walls with special wall cleaners or mild detergents, wiping them clean with a cloth, and vacuuming away stubborn stains.
For interior walls, professional painters will often use a mild soap solution to gently wash off grime buildup from cooking fumes and dirt tracked in from outside. Pressure washing may also be used on exterior walls to remove built-up dirt or debris that regular scrubbing cannot get rid of. Once all loose particles are removed from the surface, it’s time for priming. Primer provides a layer between the existing finish and the new coat of paint which helps promote better adhesion so your fresh coat will look great for years to come without chipping or peeling prematurely due to poor bonding properties.
Finally, after giving everything one last inspection for any missed spots, the walls are perfectly clean and primed, ready for their new glossy finish.
Priming walls before painting is an important step in ensuring that the finished product looks its best. Applying caulk or putty can help to seal any gaps between surfaces, making for a more professional-looking finish.
Applying Caulk or Putty
Applying caulk or putty is an important part of any painting job. Professional painters understand that properly prepping walls before applying paint is essential to achieving a quality finish. Caulk and putty are necessary to fill in any openings, crevices, or indentations on the wall before painting so that a smooth and even coating can be achieved. When preparing walls for painting, professional painters start by cleaning them with a special wall cleaner or mild detergent solution. After cleaning the wall, painters use caulk or putty to seal any gaps between trim pieces and other areas where two surfaces meet. Once cleaned, they use caulk or putty to seal up any gaps between trim pieces or other areas where two surfaces meet, such as around door frames or window sills.
Professional painters exercise caution when using caulk, taking care not to overstuff the gaps. To ensure a clean edge, they use painter’s tape before applying and promptly wipe away any excess with a damp cloth post-application. Putty should be used sparingly as too much can leave unsightly lines once painted due to its higher viscosity. On the other hand, silicone-based products don’t have this issue as they dry clear even if slightly overfilled during the application process.
Professional painters also avoid assuming that walls are perfectly clean just because there isn’t visible dirt on them; stubborn stains may require more effort than simply wiping them off with a damp cloth prior to the priming/painting stages of the project. In cases where grease buildup exists, some pros recommend using mild soap solutions mixed with water instead of just plain water for best results when attempting removal. Gentle scrubbing motions help loosen grime while still protecting underlying surfaces from damage caused by excessive pressure washing techniques often employed by DIYers who don’t know better.
FAQs in Relation to Do Professional Painters Clean Walls Before Painting
Do professional painters wash walls before painting?
Yes, professional painters always wash walls before painting. This is an important step in the preparation process as it removes dirt and dust from the surface, which can affect how well paint adheres to the wall. Before painting, professional painters also eliminate any grease or oils on the wall to ensure a smooth finish. Professional painters use mild detergent and warm water when washing walls prior to painting for the best results.
Do painters usually prep walls?
Yes, professional painters typically prep walls prior to painting. This includes cleaning the wall surface and patching any holes or cracks. They may also utilize a preparatory coat if required, contingent upon the sort of paint being employed and the state of the wall. Proper preparation is essential for ensuring that a high-quality finish is achieved with every job.
Do painters clean?
Yes, painters do clean. Professional painting services typically include a thorough cleaning of the area to be painted prior to beginning work. This includes dusting and wiping down surfaces, vacuuming floors, removing furniture, or covering it with plastic sheeting for protection from paint splatters. To safeguard surfaces not being painted, the painter will use drop cloths and tarps to cover them from any spills or drips.
Can you paint over dirty walls?
Yes, it is possible to paint over dirty walls. For optimal results, preparation and cleaning of the wall should be done thoroughly before painting. Cleaning should involve removing dirt, dust, cobwebs, and other debris from the wall as much as possible if there are any stains or marks that cannot be removed with a damp cloth or brush, then use an appropriate cleaner such as sugar soap for stubborn marks. Once cleaned and dried properly, you can apply a primer coat if needed before applying your topcoat of paint for the best results.
Conclusion
The conclusion is simple:
Yes, professional painters clean walls before painting. Cleaning and preparing the wall surface will ensure that your paint job lasts longer and looks better. This involves removing dust, dirt, and old paint chips, applying caulk or putty to cracks in the wall surfaces as well as priming them for optimal results. Properly preparing the wall prior to painting can have a major impact on how long your new coat of paint stays looking great.
Hire Matt the Painter to ensure your walls are properly cleaned and prepped before painting for an exceptional finish. Our attention to detail will give you the perfect result that will last for years!