
Protect Your Wall Mural with an Anti-Graffiti Coating
September 30, 2018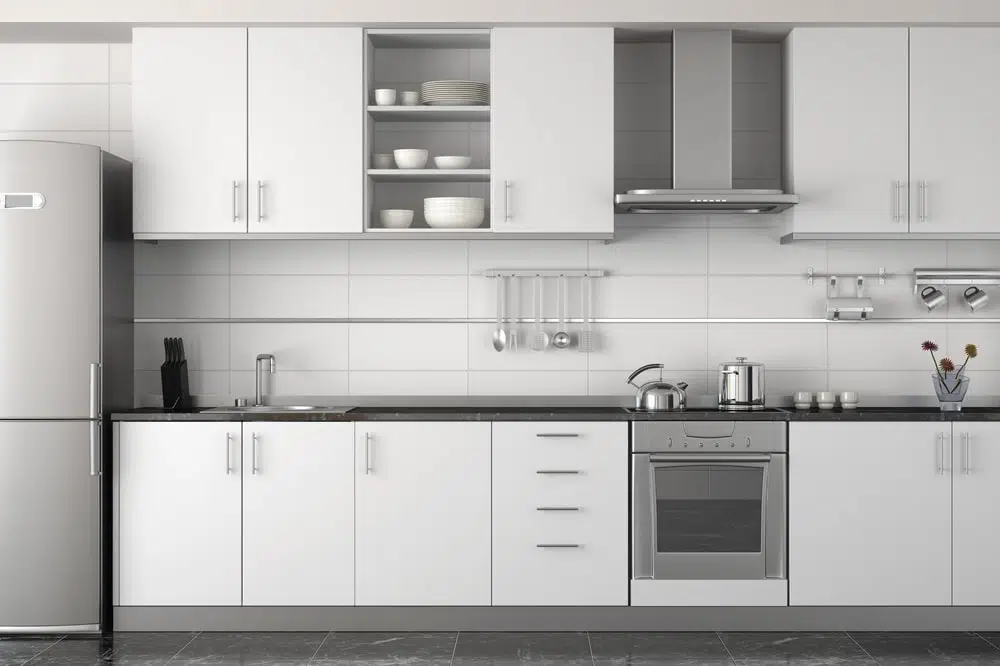
Should You Paint or Replace Your Kitchen Cabinets?
October 31, 2018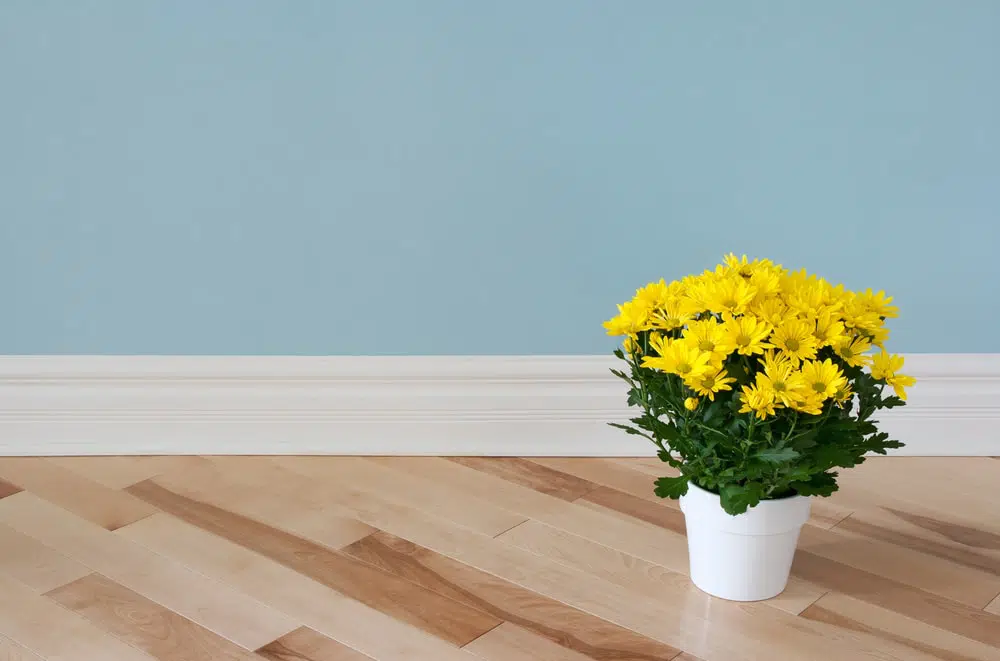
When you’ve invested time and money in the walls and furniture that define the look of your home, are you one of the property owners who finishes the project by putting enough time in painting baseboards and interior trim? So many homeowners and owners of small businesses don’t take this last, important step to give the room the final touch it needs, something similar to putting the right icing on a cake. Think of it this way: If you’re changing colors or going from a natural wood look to a painted finish (or the other direction), it’s essential to add the final touch to the trim and baseboards.
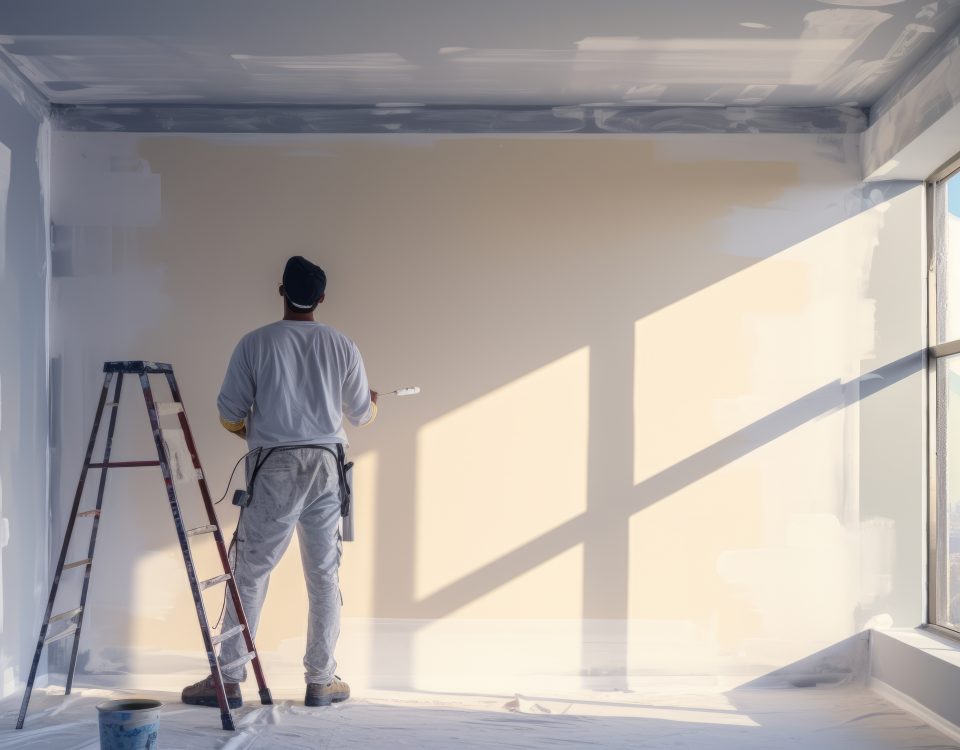
There are a few basic “tips” that you should know about before you make these changes on your own. Naturally, when you hire the professionals to complete a room renovation, they will probably insist on making changes to the trim wood and floor baseboards. But, if you decide to do this work yourself, you might want to stay with us to learn about making the results something that you can be proud of and can live with for a few years. The first, and most important, step if you’re working with unpainted wood is to talk to your paint specialist to make sure that you get a high-quality primer.
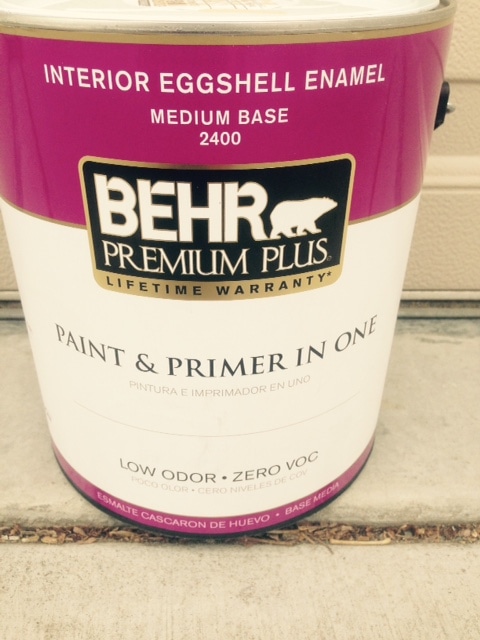
All in One?
First and foremost, if you’re going to put a good finish coat on wood that hasn’t been painted previously, you should spend a few pennies more to get a dedicated primer. You could use an “all in one” product, of course, but the extra coat under your finish coat will give you the results you need on areas where foot traffic and furniture can subject the wood to more wear and bumps. A dramatic change in color is always a special situation so make sure that you have a quality primer coat.
Use white primer if your final coat is white or a very light color. Darken your primer choices for darker final coats. Again, talk to your paint pro to discuss the differences between latex paint and oil-based paint. You can test the paint that’s already on the baseboard and trim with a cotton ball soaked in rubbing alcohol. If it comes off easily, it’s latex. Make sure that your primer is right for bonding to the existing paint and match your finish paint to the primer you use.
What’s There Now?
This is an important question. If the paint surface on your baseboard and trim is in bad shape, you must do all you can to give the new paint a smooth surface to work with. Scrape lightly to remove flaking paint. Use a wire brush, again with a light touch, to get your surface where it should be to accept paint. Use quality wood filler for holes and give the surface a light sanding before you apply the first coat of primer.
Many do-it-yourself painters and decorators make the mistake of treating primer coats differently from the finish coats (which should be two, no less). Use painter’s tape or a trim tool to make sure that your lines are straight and clean. One coat of primer and two or three finish coats should be sufficient. Make sure that you allow the previous coating to dry thoroughly before putting on any following paint.
