
How to Get Crayon, Pen, and Marker Off Your Walls
February 9, 2021
How to Store Paint and Chemicals in the Winter Months
March 9, 2021
Broadly speaking, there are two categories of common DIY mistakes when it comes to painting: the preparation and the painting itself. We’ll explore the most frequent amateur missteps and how to avoid them so that your paint job will look terrific!
Prep: DOs and DON’Ts
The first mistake that many people make is thinking that preparation is optional. It really isn’t. It’s tedious and not a whole lot of fun, but it’s absolutely necessary if you want to have a professional-looking paint job.
Start by covering doorknobs, hinges, and trim with plastic wrap and/or painters’ tape, and use painters’ tape around baseboards, door frames, and windows. Use a putty knife to flatten air bubbles and seal edges. This part of prep prevents the common mistake of bleeding or feathering and ensures sharp and clean lines where you want them.
Cleaning the walls prevents the common mistakes of dust particles and bits of (animal or human) hair stuck to the walls, creating an uneven and blemished finish. Start by vacuuming the walls, and then wipe them down with a soft rag and a solution of two cups of white vinegar to a gallon of warm water.
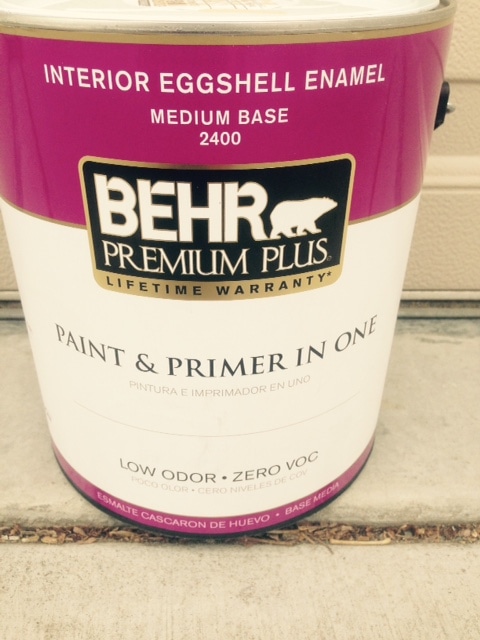
Shopping is part of your prep work too! Make sure that you have the right kind of paint, enough paint, and good-quality rollers and/or brushes. This prevents the common mistakes of having ever-so-slightly mismatched colors when you buy batches of paint that were mixed at different times, having loose bristles stuck in the paint, or having visibly uneven roller or brush strokes. Also, don’t pick your paint color based on a fingertip-size color chip. Ask the paint store for a sample, and paint swatches in natural and artificial light. See how it looks at different times of the day, and if it really matches your furnishings and décor.
Painting: DOs and DON’Ts
The first rookie mistake to avoid once you actually start painting is dipping your brush or roller too heavily into the paint. This results in wasted paint (perhaps even running out of paint, as above), uneven paint strokes, and drippy paint. If you’re using a paintbrush, dip it to cover approximately one-third of the bristles.
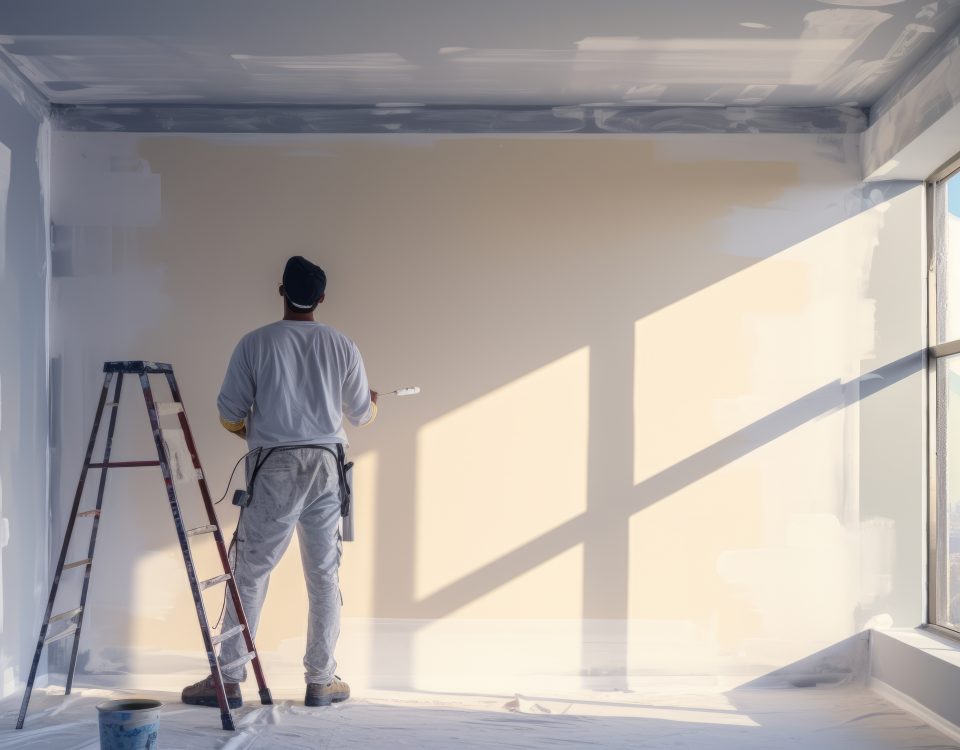
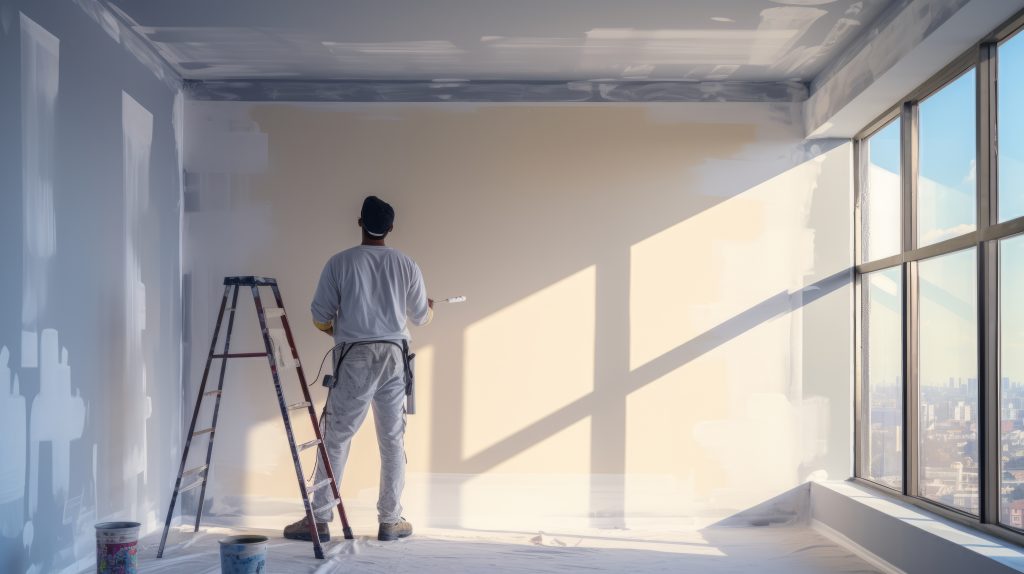
Another common mistake is accidentally painting the ceiling. The best way to avoid this is to carefully paint a nine- to twelve-inch swath of paint horizontally at the top of the wall near the ceiling. Now, when you paint the rest of the wall with your long strokes, you paint only up to that stripe and you stay away from the ceiling!
If you’re doing two coats of paint–which most of us will be–a common DIY mistake is not waiting for the first coat to dry thoroughly. There’s a reason why “watching paint dry” is synonymous with “boring,” but applying a second coat before the first one is completely dry results in an uneven finish, visible brush strokes, and peeling paint. Patience pays off here, so follow the manufacturer’s recommendations. If none are provided, 24 hours is usually safe.
